Postage. Yikes.
How do you choose the postage for your invitations? Does the thought of the post office send your blood pressure skyrocketing? Or do you just walk into said post office and request a roll of stamps? (I sure hope not!)
Some of you may be thinking, “Wait, there’s more than one kind of stamp?!”
The answer is yes! For the purposes of this blog post, we’re going to discuss 3 types of postage:
- Traditional postage
- Vintage postage
- Custom postage
Also, because Sablewood is based in the United States, I’ll only be discussing US postage here.
[hr]

traditional postage option with gorgeous forever stamps!
TRADITIONAL POSTAGE
This variety of postage is one that most people are familiar with. You’ve probably used a Forever stamp a time or two, or maybe you’ve mailed a postcard with a special stamp.
Traditional postage is the most cost-effective option, but the choices are much more limited. Oftentimes, there is only one type of wedding-themed stamp available for purchase during a given season…and if that doesn’t match your stationery, well, you’re out of luck.
There are plenty of stamp options in general, of course! I’ve had several fun-loving couple who have chosen really great stamps from the post office, like the Soda Fountain Favorites stamps a bride used for a low-key summer wedding or the floral series (there’s always one at the post office!) for a botanical garden wedding.
Take your time and look at the options available! The post office’s website has so many options to choose from.
[ My current favorite is the Solar Eclipse stamp series, which was printed with thermochromic ink…which actually changes the image based on the heat of your touch. WHAT. ]
[hr]

vintage postage adds a little spark to your envelopes – and there are so many options!
VINTAGE POSTAGE
Vintage postage has made waves in the stationery world over the last several years, and it’s no wonder. As you can see from the photo above, a kind of collage of stamps is made on envelopes, giving the piece an old-world-romance feel.
These stamps are tricky to find at times, but they really add the special touch to envelopes that traditional postage just doesn’t have.
Unlike the few varieties of postage amounts available today, vintage postage comes in a wide range of denominations. I’ve seen some as low at one quarter of a cent and others over one dollar…and almost every amount in between. So what do you do with postage that has so many different values?
[call_to_action link=”https://sablewoodpaper.com/contact/” button_label=”tell me more!” rounded=”false” btnsize=”medium” color=”43beac”]
Interested in vintage postage?
Send me a note to let me know what style bride you are (modern and classic? traditional and romantic? Fun and whimsical?) and your invitation suite vision, and I’ll get back to you with some options!
[/call_to_action]

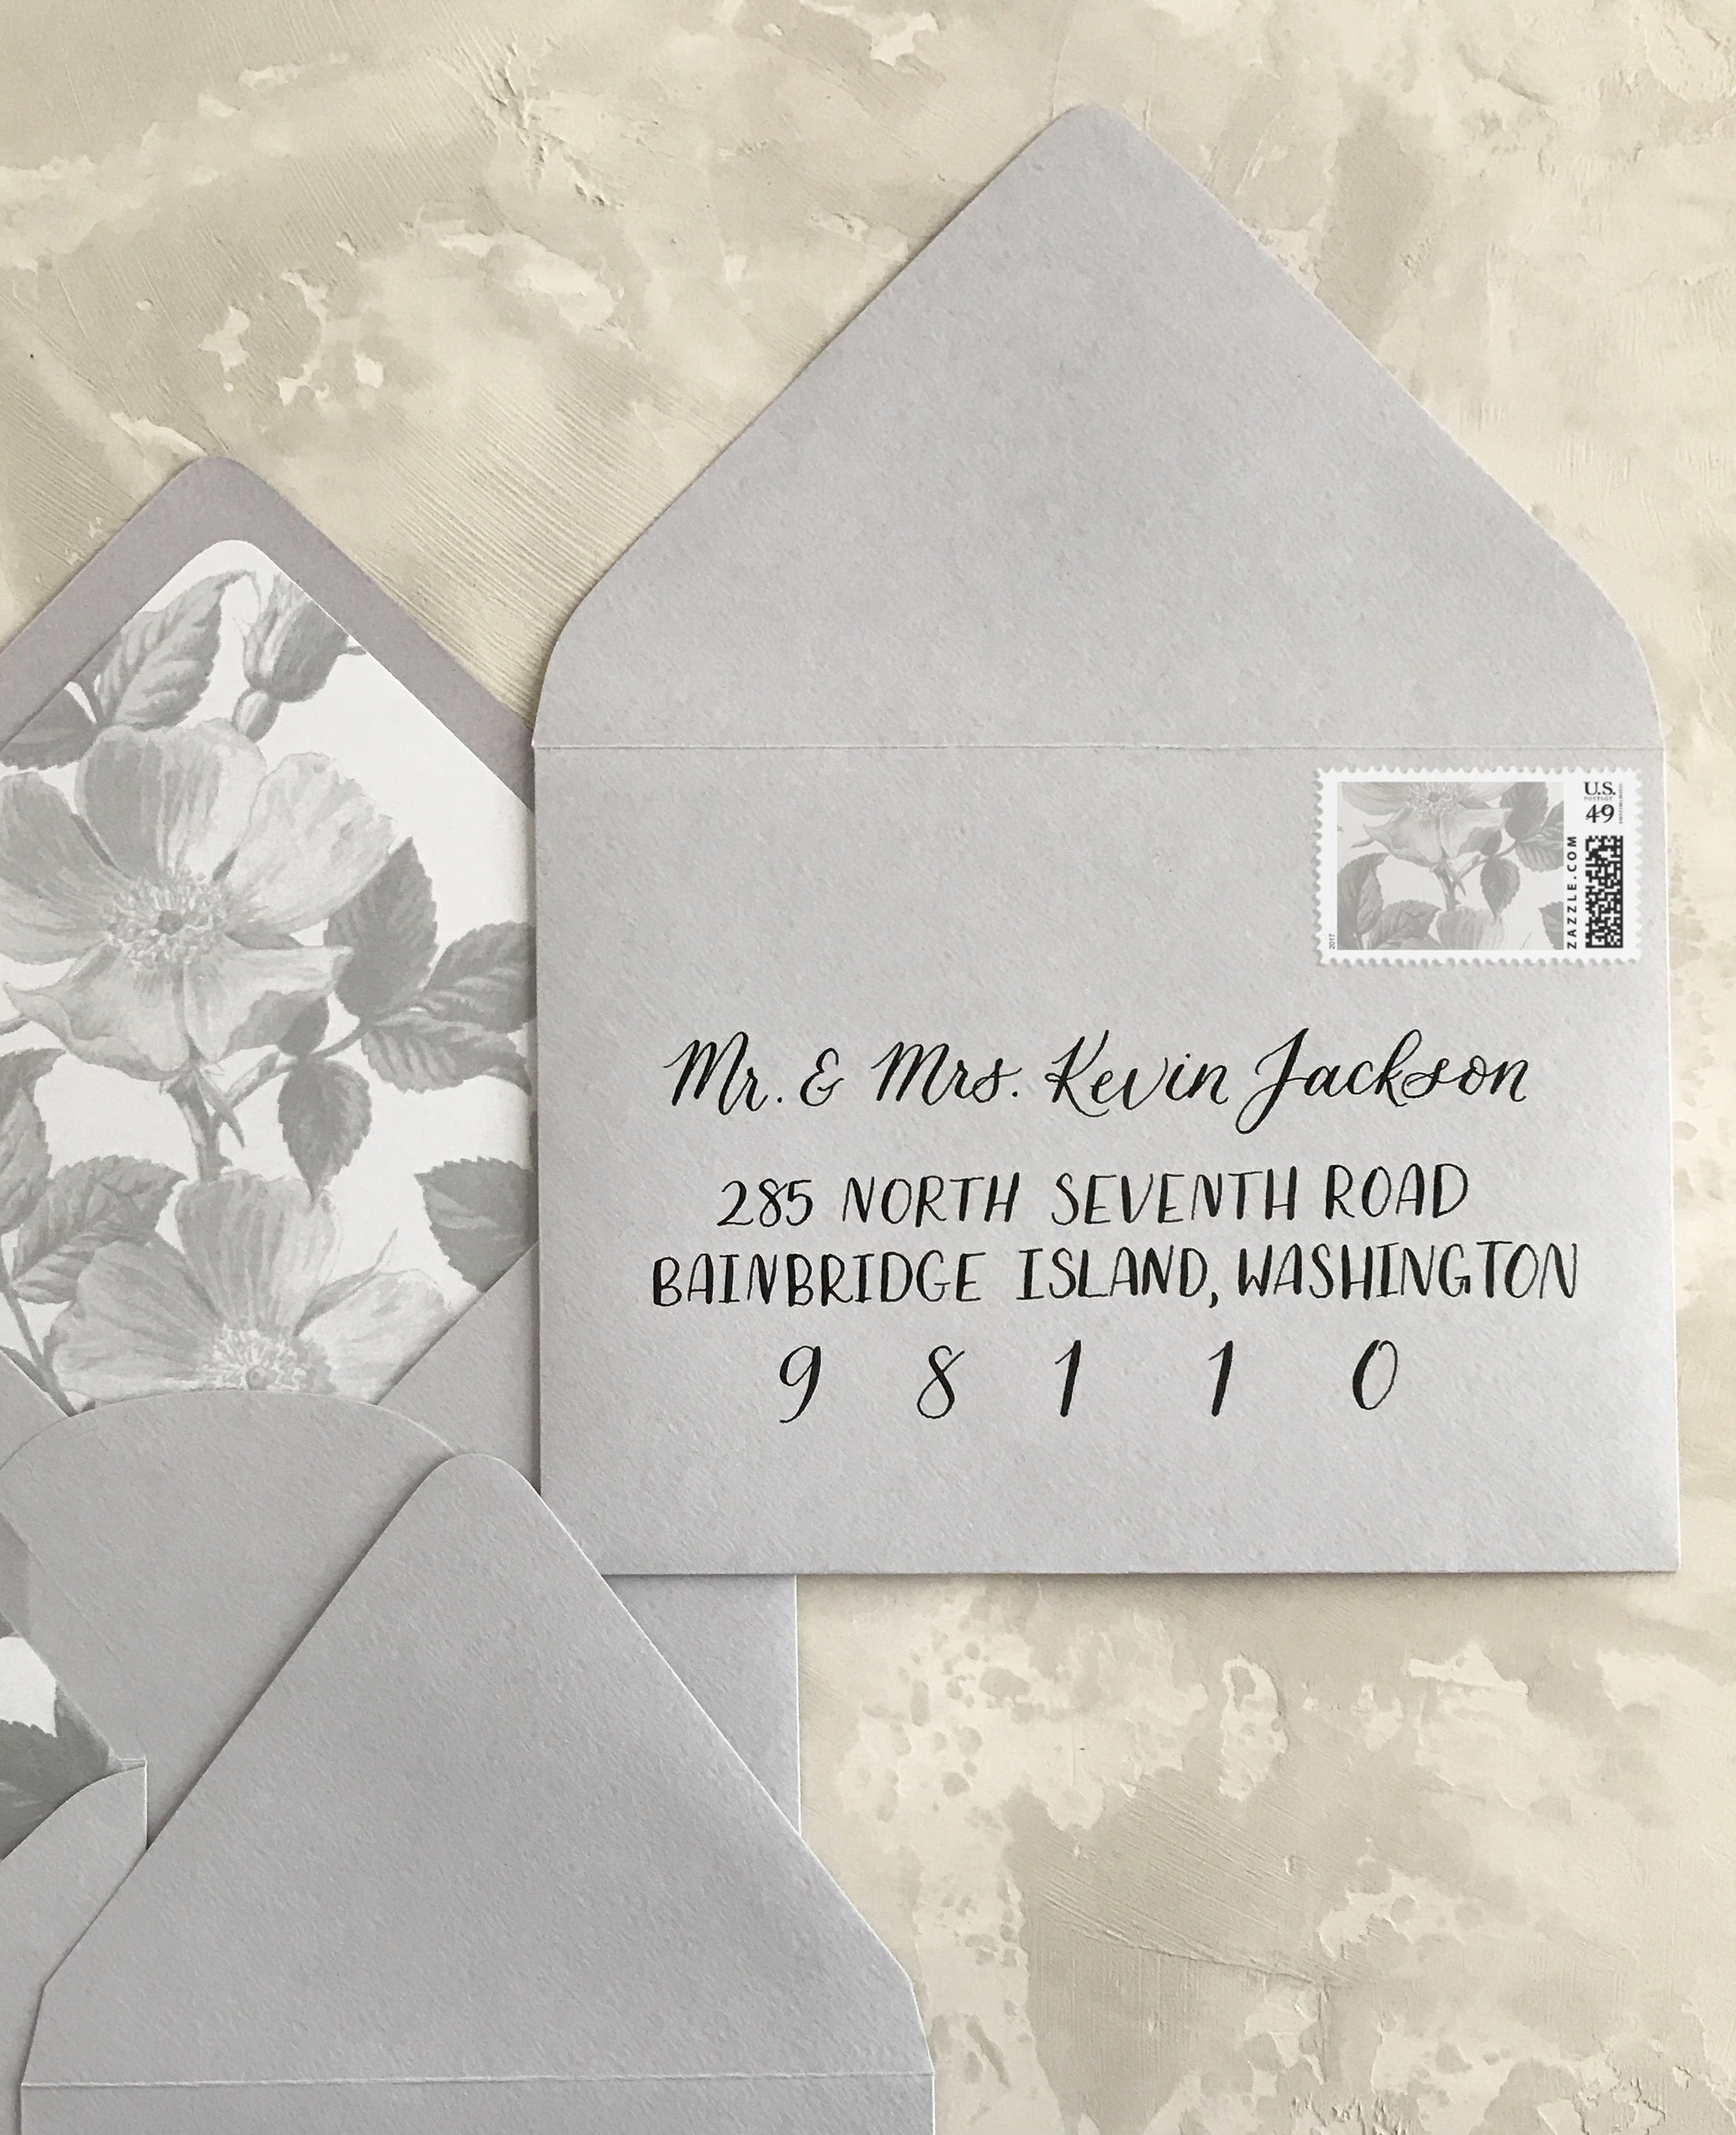
with custom postage, you can put almost anything on your stamp. want a photo of your pup? we can do that!
CUSTOM POSTAGE
Custom postage is super cool, and I love when brides add it to their package.
Basically, you create a stamp with your design on it, and there are different denominations available from postcard size ($.34) to standard first class/1 oz. letter stamps ($.49) to irregular sized mail/2 oz. envelopes ($.70). It’s pretty simple!
The great thing about custom stamps is that we can get you exactly what you want on them. Vintage stamps not jumping out at you? Don’t see anything you like at the post office? No problem!
With custom postage, you can incorporate any of the following (and more!) into your stamp:
- Monogram
- Venue illustration
- Photo from your engagement shoot
- Picture of your pet (bonus points if they’re in the ceremony!)
- A pretty watercolor wash to add a pop of color
- The date of your wedding
You can see how this option really brings your invitation suite together and makes it look cohesive!
[hr]
I KNOW WHAT POSTAGE I WANT…NOW WHAT DO I DO?
Yay, you made it!
This is where it can get tricky and a little frustrating at times, but if you read the steps I’ve outlined below carefully, I can save you a little headache and maybe give you some insider insight to mailing your invitation suite. It’s only 5 steps long – it’s easy-peasy!
• STEP 1 (all postage types)
This is very important: take your completed invitation suite to your local post office. Make sure it’s completed. Wax seal applied, all pieces inside, sealed, etc. – pretend like you’re taking it to the post office to mail. It needs to be that completed.
Seriously, I’ve read horror stories about 150+ suites coming back to the bride because the postage was insufficient. You don’t want that to happen.
• STEP 2 (all postage types)
Ask the post office worker to weigh your suite. They’ll be able to tell you how much postage you’ll need, and should be able to direct you to the postage options available to you.
• STEP 3 (all postage types)
Repeat steps 1 & 2 at two more post offices. Chances are, you’ll get a different answer at each office.
Pro tip: Ask for the manager on duty (be sure to get their name) and have them weigh your suite. That way, if there are any problems down the line, you’ll know who to speak to. And, depending on the size of your city/town, they may even remember you!
• STEP 4 (choose your postage type)
Traditional Postage
Purchase the correct amount of postage for your suite at the post office or on the post office’s website. Affix to every piece.
Vintage Postage
Ask me to gather up some pretty sets of stamps in the amount of postage you need! (Alternatively, you can buy vintage postage online.) Lay out how you’d like the postage to look on your envelope before licking and sticking. Rearrange until you’re happy with the look, lick and stick, and prop the envelope up to use as a guide for the rest of your envelopes. Affix postage to every piece.
Remember, vintage postage will, of course, be slightly more expensive than traditional postage, but the end product using vintage stamps compared to traditional stamps? Swoon.
Custom Postage
If I’m creating your invitation suite for you, chances are I’ll have all of the pieces with me and can get the envelopes weighed at the post office myself.
If I’m only addressing envelopes for you, or only designing your invitations with no addressing services, then you’ll need to follow steps 1-3 and let me know how much postage your invitation suite needs.
Then, based on your design requests, I can design and print your custom postage for you! Remember to affix postage to every piece.
Pro tip (all postage types): Don’t forget to add postage to your reply envelopes! I recommend going with Forever stamps for those, but you can ask the post office worker to also weigh the piece (be sure the reply card is inside the reply envelope!) for accurate postage.
• STEP 5 (all postage types)
Take your suite to the post office that you feel most comfortable at.
Pro tip: If you’re mailing more than 30 pieces, spread them out over the course of a few days. I’ve had the most success with mailing large suites when I drop 20-30 off per post office, per day. In 2013, 4.3% of all pieces mailed (that’s a whopping 6.8 billion pieces out of 158 billion pieces mailed) were returned as undeliverable. In my area, I’ve found that dropping off smaller loads of suites every day decreased the amount of pieces returned to sender. That may not work in your area, but it’s definitely worth a shot!
• BONUS ROUND!
If you want a specific look for your wedding stationery (and if you’re here on my blog, I’m guessing you do), ask the post office worker if you can hand cancel your envelopes! This is a lovely extra touch and doesn’t take much time.
Hand cancelling means that your postage is stamped with a special hand stamp – which is seriously cool, if you’re a nerd like I am – to cancel your stamp, which theoretically prevents your suite from being processed through the post office’s machinery that may ruin your beautiful envelopes.
However, this is not always the case. Mail still needs to be sorted by zip code, a process which runs envelopes through a machine and prints a faint barcode on the envelope – but don’t worry, it’s not enough to ruin the aesthetic. It’s important to know that aside from hand delivering your envelopes, there’s an excellent chance that any mail you send out will not arrive to its final destination in pristine condition.
Pro tip: When asking about hand cancelling, it’s always nice to bring a baked good or two to butter up the post office worker; they have to deal with so much craziness during their shift, it would probably make their day!
[hr]
WHAT ELSE DO I NEED TO KNOW ABOUT POSTAGE?
Most postage questions can be solved by following the steps above, but what kind of blog post would this be if I didn’t share a few more tips?
Square (and Irregular Sized) Envelopes
Square envelopes certainly make a statement – they’re different than most other pieces you typically receive in the mail in shape and size (most envelopes are more rectangular and longer, right?) Well, there’s a reason for this: square envelopes cost more to mail.
Why? Because they can’t be machined by the post office, meaning they can’t be processed and sorted using standard equipment and are categorized as non-machineable…hence, the extra postage.
The extra charge isn’t overwhelming – unless you’re ordering 500 invitations, of course…then any extra charge would probably seem excessive! – but it’s sometimes enough to put budget brides off.
The same extra charge goes for irregular shaped mail. I’ve yet to see a request for one of these land in my inbox, but I’m looking forward to the day it does…because these pieces have to be pretty large to be non-machineable. And. I. Can’t. Wait. To see one in action!
Wax Seals
By now, you’re probably sick of me talking about wax seals.
(sorry, not sorry…I love wax seals.)
The problem with these babies is that some post offices just don’t like them. Some workers will tack on a non-machineable fee to your envelopes, some will refuse to mail them if they have a wax seal on the outside of the envelope, and others will process them as if nothing out of the ordinary has happened.
Do you recall Step 3? Revisit that step if the first post office gives you any grief. Remember: try another post office, try another, and try again.
[hr]

Smithsonian National Postal Museum
TIME FOR YOUR HISTORY LESSON!
The United States Postal Service has some really cool (and deep) roots. As usual, I won’t go into too much detail, but I’ll hit on some of the high points here.
The post office is explicitly authorized in the Constitution. Think about that for a moment: our Founding Fathers not only created a document declaring the Colonies independent from British rule – “that all men are created equal, that they are endowed by their Creator with certain unalienable Rights, that among these are Life, Liberty and the pursuit of Happiness” – they added a clause in the Constitution to empower Congress “to establish Post Offices and post Roads.” These gentlemen really thought ahead.
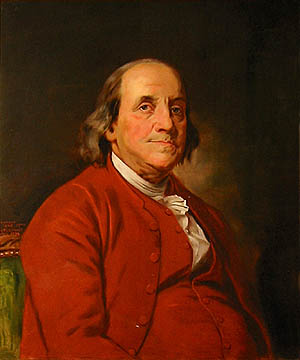
The greatest part is that Benjamin Franklin was established as the first postmaster general in 1775, a year before the Constitution was signed and America declared her independence on July 4, 1776.
To put it in modern terms, our Founding Fathers really killed it with the Declaration and Constitution.
See? Postage wasn’t so bad (I hope)! See you next time!
