Who else is excited about the holidays?!
I was just saying to a friend that this holiday season seems much more cheerful than last year. And maybe it’s because I’m living in a place that actually has seasons (I still love you, Florida!), but it feels more like the holidays this year, too. People seem to be much more happy and giving and lovely, and I like that.
A few of my calligra-friends and I started a Secret Santa gift exchange, and it got me to thinking about calligraphy supplies. I’m a supply FIEND, and (admittedly) hoard collect anything that looks remotely useful. I often hear myself saying, “Oh, I can use that for Project X. ADD TO CART!!” and then never using it again after said project.
When I moved 2,700 miles across the country this June, it forced me to prioritize my supplies (but I can feel myself slipping again now that we’re settled in our townhouse). I threw out 25 silver trays I use for styling, an embosser and a bunch of powder (all of which I’ve repurchased since the move…oops), countless bottles of watercolor. That doesn’t count the veritable STACK of empty sketching notebooks I handed over to my good friend to fill with her gorgeous mandala artwork. I donated three shoeboxes full of ribbon to a local Alzheimer home for their craft room. A wedding venue in Vero Beach is now the proud owner of a farmhouse window pane, oversized signs I couldn’t take with me, and a slew of other styling pieces.
Why did I share all of that with you? Because I wanted to tell you that this list is NOT a definitive list for all of the calligraphy supplies you’ll ever need. It’s what I couldn’t live without when I moved across the country, and 90% of these supplies I use at least 3-4 times a week, if not more.
I have my materials split up into Beginner and Advanced lists, but you can pick and choose from both lists no matter what your skill level is. And without further ado: The Calligrapher’s Christmas Wish List!
Please note that this list isn’t intended to be an all-encompassing list of all the calligraphy supplies you’ll ever need, and all supplies listed are my personal favorites. You may disagree or have other favorites – in which case, please share them with me! 🙂
BEGINNER CALLIGRAPHERS
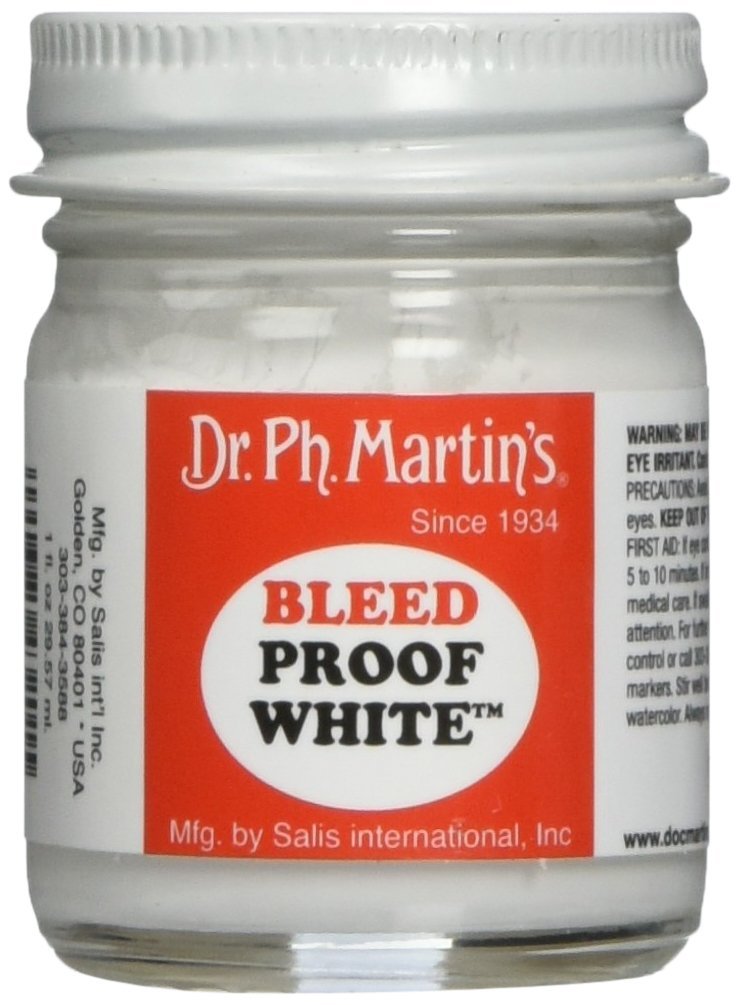
Dr. Ph. Martin’s Bleedproof White – Buy it!
Along with Sumi, this is an ink I use almost every day. Because it’s nice and thick, it lasts a long time. I can usually stretch mine out to 4-6 months, depending on how many orders for white ink I have. Remember: You have to mix a bit of water in with the ink, but go slowly and remember that you can always add more water, but you can’t remove it.
Pros: completely opaque, long life, excellent quality, inexpensive
Cons: may be challenging to get the perfect mixture of water and ink, remember to shake periodically during use
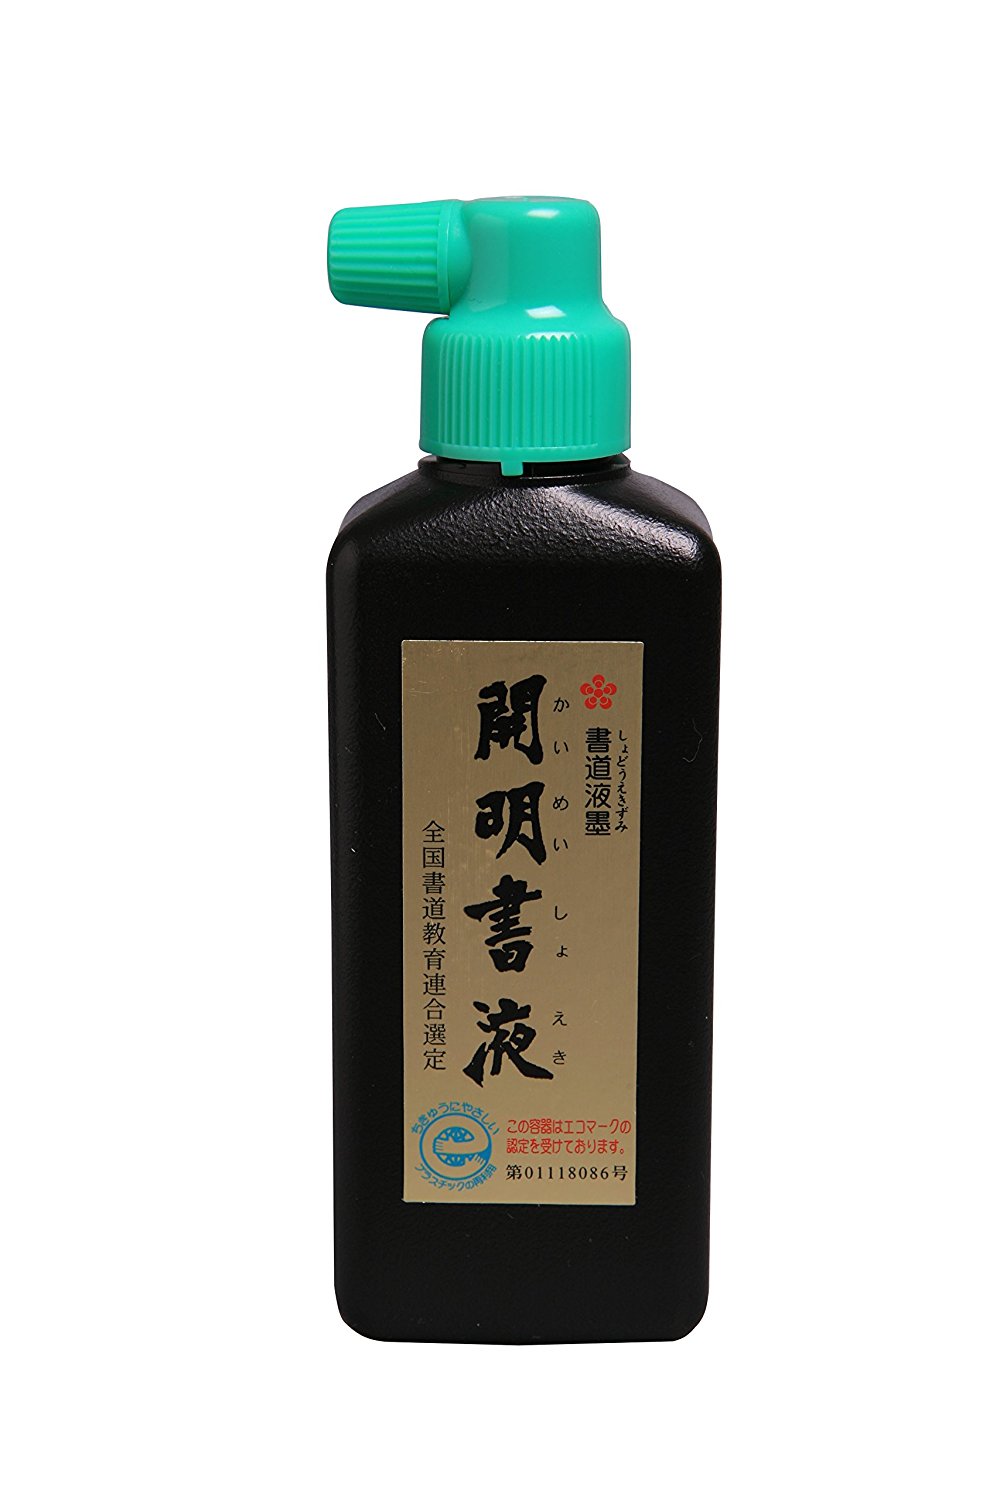
Moon Palace Sumi Ink (180ml) – Buy it!
As I mentioned above, I use this ink a lot. I use it pretty much every time I pick up my pen holder, because I can use it for a wide range of projects from envelopes to drawing to spot calligraphy. It’s versatile, writes smoothly, and has a gorgeous light sheen to it when it dries. I use this often enough that I buy a few of these at a time and fill up my small ink jar as needed.
Pros: completely opaque, permanent, excellent quality, inexpensive, easy to find, no need to mix with water
Cons: must be transferred to a smaller jar before use, stains easily (keep far away from clothing!)
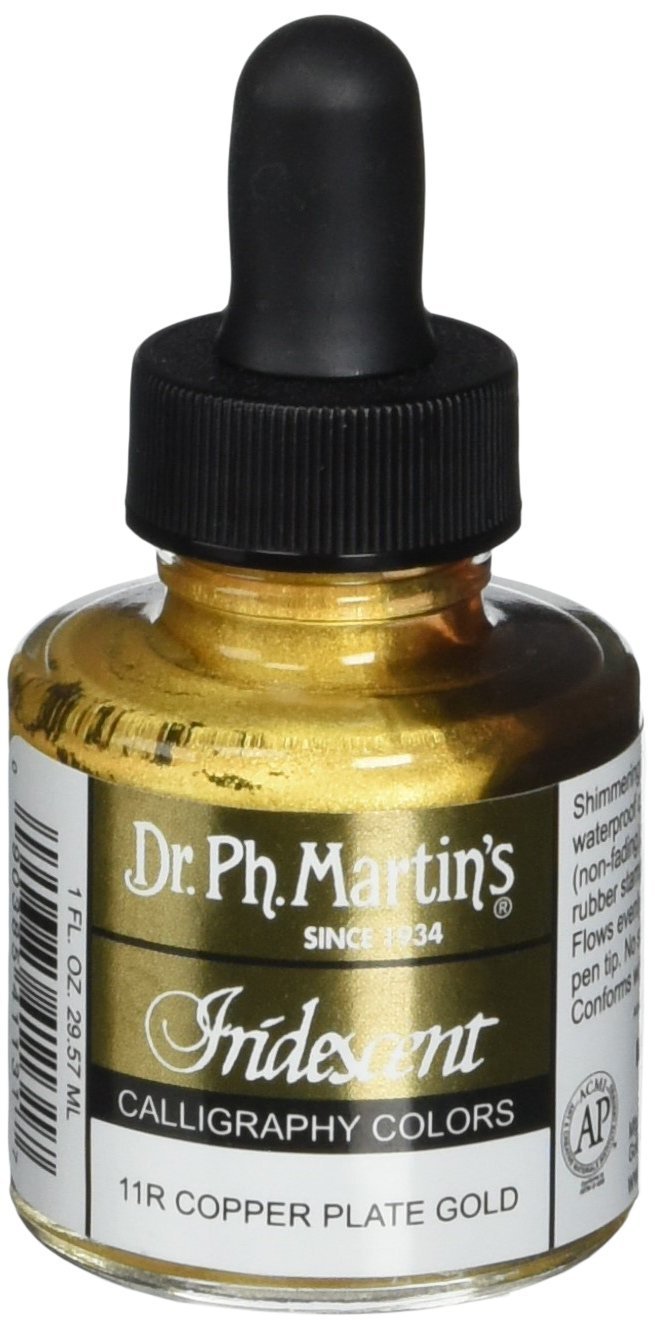
Dr. Ph. Martin’s Iridescent Calligraphy Color (Copper Plate Gold) – Buy it!
While I don’t use gold every day, I really should. This is such a gorgeous color and I can’t say enough good things about it. You can’t really dip your nib directly into the bottle it comes in, so you’ll need to transfer the ink into a different jar. The only downside, and it’s a big downside, is that you have to shake this baby every. three. minutes. It’s a pain in the booty when you’re addressing envelopes (and even more of a pain when you’re on a place card-making roll), but the brilliant shimmer when it dries is SO worth it. If you don’t shake, you’ll end up with a rusty color. While this rust color looks nice, it’s not gold, and you want the real thing. Don’t want to shake that often? See below for a shortcut.
Pros: GORGEOUS true gold color, excellent quality, relatively inexpensive as far as inks go, easy to find, no need to mix with water, lovely shimmer when dry
Cons: must be shaken very frequently to keep the color rich, must be transferred to a smaller jar before use
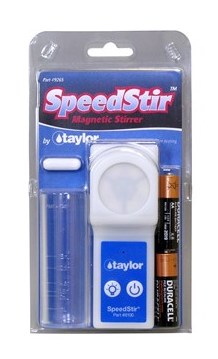 Magnetic Stirrer Speedstir – Buyit!
Don’t want to shake that often? (Trust me, after a 100-envelope order you’ll be begging for one of these). I’ve heard many calligraphers complain that this stirrer doesn’t fit all ink jar sizes, but I just use the jars available that fit the stirrer. After all, I’m going to pour the gold ink into a different jar, right? (The Soap Magnetic Stirrer is brand new and I haven’t tried it yet, but I imagine it would face the same challenge with various ink bottle sizes).
Pros: you don’t have to shake up ink every 5 seconds!, battery operated (no cord to plug in), relatively inexpensive, extra magnetic bars and jars (“storage cups”) available
Cons: only certain sized jars can fit on the stirrer, magnetic bars have to be fished out of the jars to be used in others
Speedball Pen Holder: Straight – Buy it! | Speedball Pen Holder: Oblique – Buy it!
When you’re starting out and you don’t know which holder you’ll prefer, don’t go crazy and buy a really expensive holder. I know a lot of calligraphers say that you should only use the best holders, but I respectfully disagree. Instead, I think that it’s important to feel comfortable with your tools and practice with them to excel. I offer these two options in my workshops and Intro to Modern Calligraphy Kits and they’re a great beginner tool. Once you’re comfortable with the style you prefer, then you can buy a nicer holder (and maybe one with a little more personality).
Pros: SO cheap, easy to find, virtually indestructible, rust-proof, easy for beginners
Cons: won’t fit all nibs, may not be good for calligraphers with a death grip
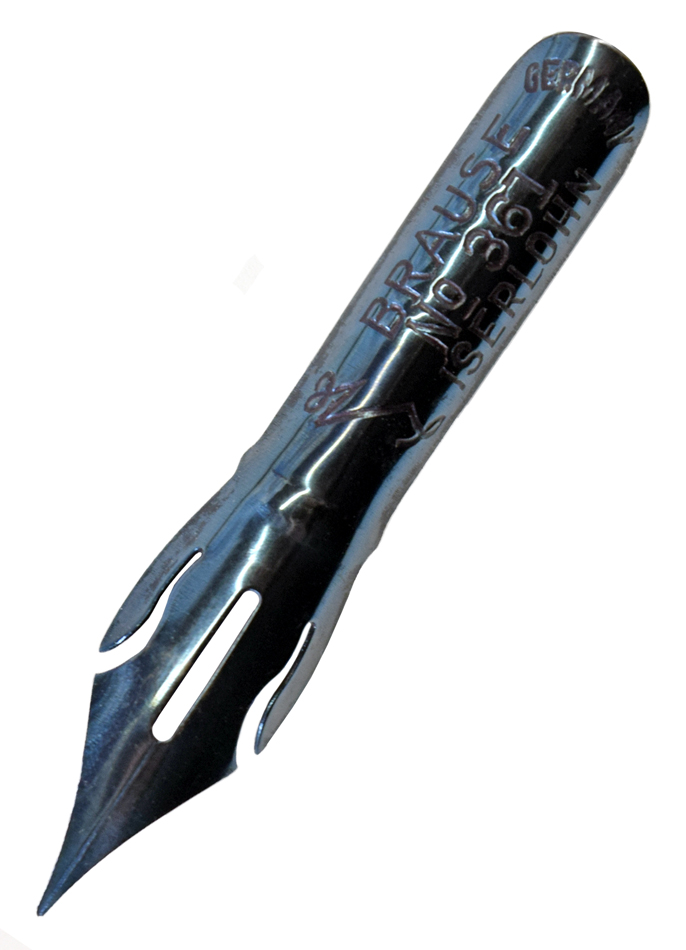
Brause 361 (Blue Pumpkin) Nib – Buy it! | Brause 361 (Blue Pumpkin) Nib with Cage Reservoir – Buy it!
Everyone is different and prefers different supplies, but the Blue Pumpkin is my absolute favorite. I use it for a wide range of projects and find that it can easily be used to create thick or medium downstrokes. It’s versatile and cheap, and I love it. It’s also available with a cage reservoir, which basically means that it holds a lot of ink each time you dip, so you don’t have to keep re-dipping every 12 words or so. You can buy nibs in larger quantities, because they’re meant to be replaced regularly.
Pros: cheap, popular and easy to find, a good beginner and intermediate nib
Cons: not super flexible or hard, can create thicker upstrokes as the nib dulls
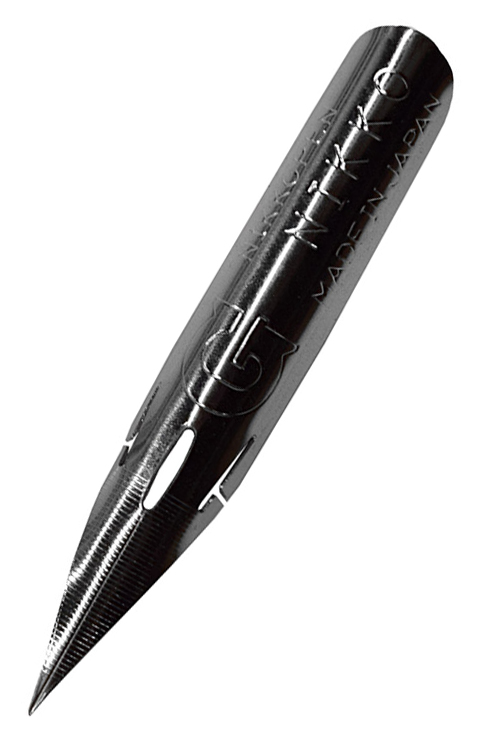
Nikko G Nib – Buy it! | Nikko G Nib with Cage Reservoir – Buy it!
This is a favorite for most beginner students. This nib can create gorgeous and consistent downstrokes and upstrokes, and is a great nib whether you’re starting out or are a seasoned calligrapher. I use this nib for addressing the backs of envelopes, on small place/escort cards, or when I need to focus on detail. It’s also available with a reservoir cage, which makes the ink flow even longer. You can buy nibs in larger quantities, because they’re meant to be replaced regularly.
Pros: cheap, popular and easy to find, a good beginner and intermediate nib, long lasting
Cons: harder flex which may not be easy to use for those with light pressure
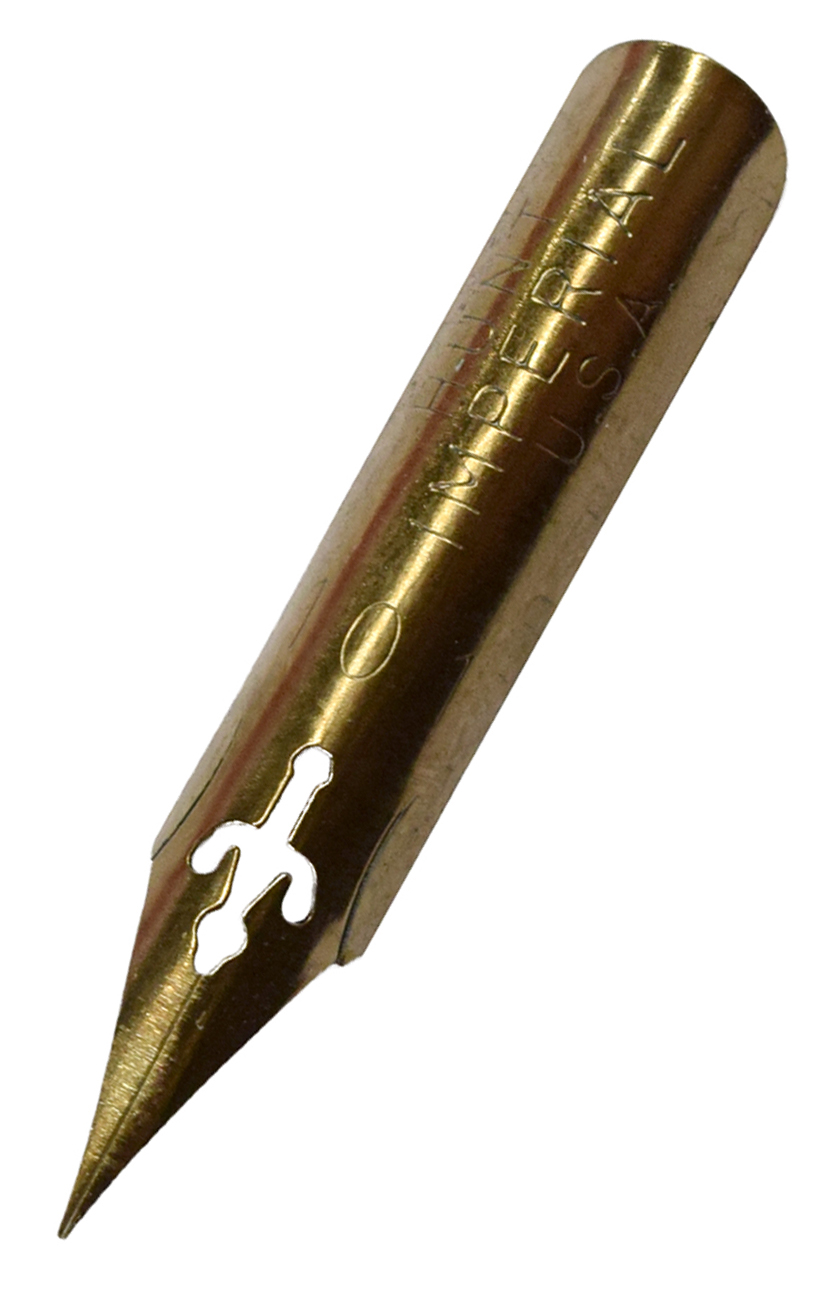
Hunt 101 Nib – Buy it! | Hunt 101 Nib with Cage Reservoir – Buy it!
This is a great option for those calligraphers that aren’t really heavy-handed. With this nib, you can achieve some really fine hairlines and super thick downstrokes. It’s very flexible and may take some getting used to if you switch nibs during a session or if you’re used to a less flexible nib. Also available with a cage reservoir, but I haven’t personally tried it yet. You can buy nibs in larger quantities, because they’re meant to be replaced regularly.
Pros: cheap, easy to find, flexible
Cons: flexible, difficult for those with heavy pressure to use
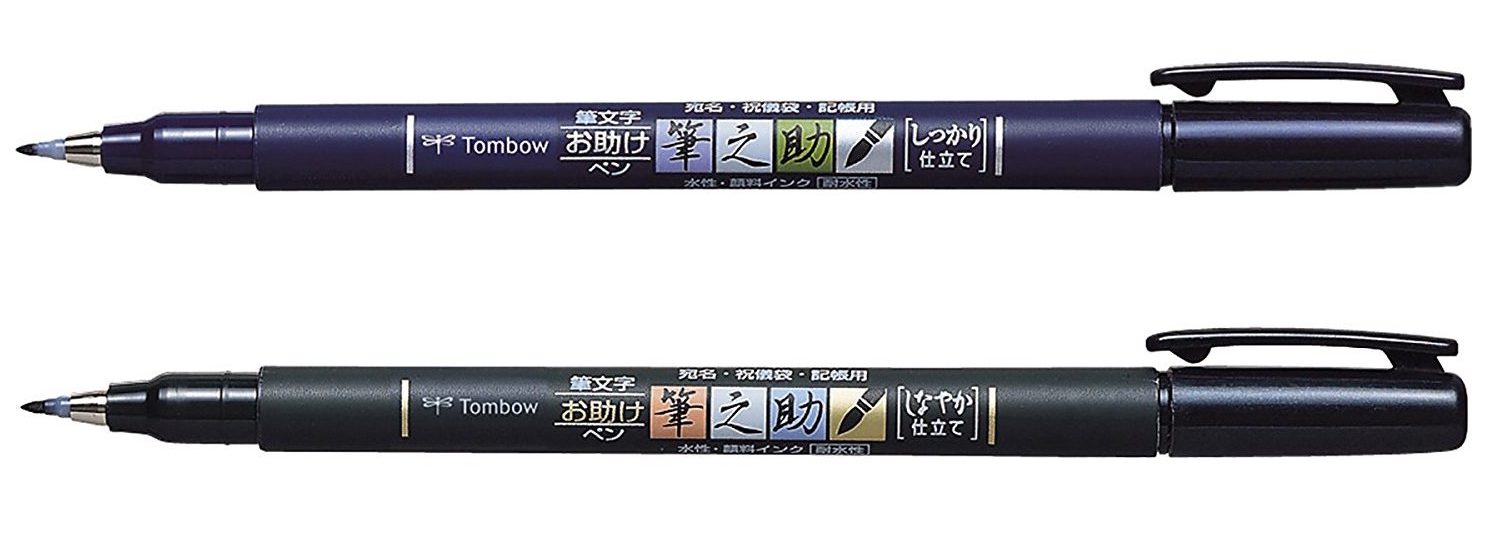
Tombow Fudenosuke (Hard Tip) – Buy it! | Tombow Fudenosuke (Soft Tip) – Buy it! | Tombow Fudenosuke 2 pack (Hard + Soft Tip) – Buy it!
I don’t use these as much as I used to, but they are a FANTASTIC tool when you’re in your first 6 months-1 year of doing calligraphy. They help you practice your upstrokes and downstrokes and are very forgiving. Plus, they’re quite convenient for travel as you don’t have to pack up ink, meaning you can practice on your morning commute or during lunch easily. They’re also a great way to see how the finished project might look if you used pointed pen and ink. The hard tip option is great for those with a heavy hand, and the soft tip can create some nice and thick downstrokes.
Pros: fairly cheap, hard and soft options for heavy- and light-handed calligraphers, convenient to use
Cons: nibs can become bent easily, run out of ink after a while
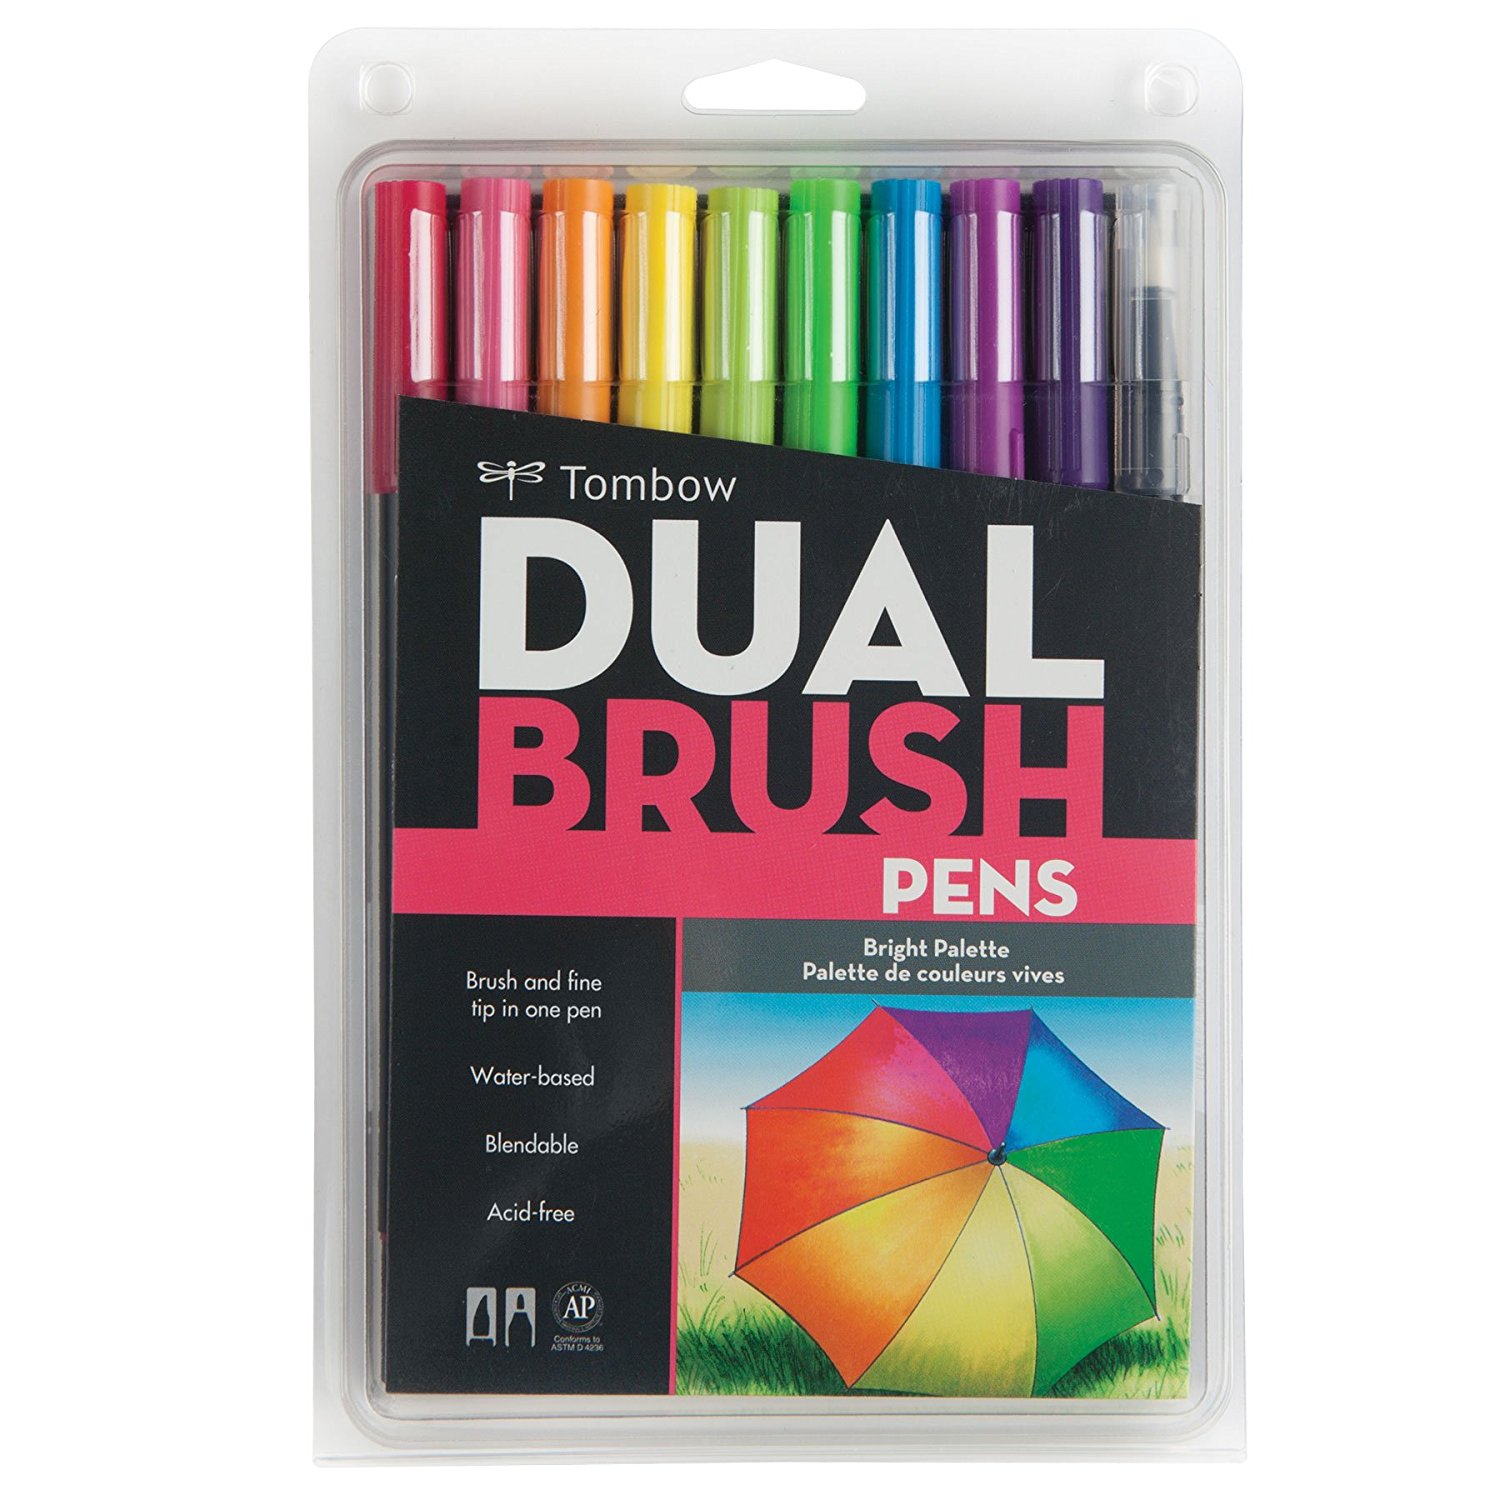
Tombow Dual Brush Markers – Buy it!
I don’t use these as much as I used to either, but they’re so much fun. If you’re unsure about pointed pen calligraphy, this is a great place to start! You’ll learn how to control your pressure to create hairlines and downstrokes, which will help you immensely with pointed pen (this is what I did when I started out!). Plus, who doesn’t love these gorgeous colors?! There are over 90 colors available, but these are my favorite colors to start with. They’re also very convenient for travel, and they work really well with the Canson Mixed Media notebook.
Pros: colorful, easy to use
Cons: a bit of an investment, the tips can fray if not taken care of
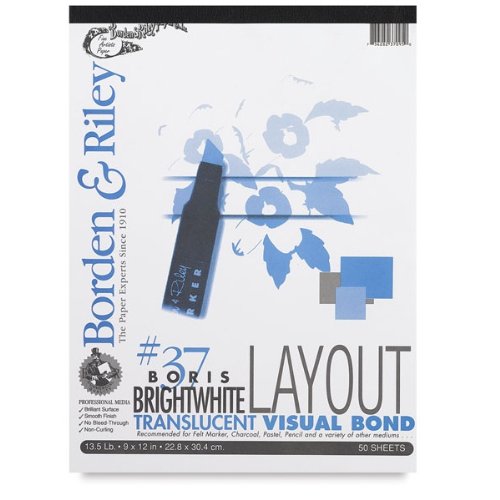
Borden & Riley Layout Paper, #37 – Buy it!
I use this paper for all of my workshops and Intro to Modern Calligraphy kits. It’s a bit translucent so it’s great for tracing, it’s super smooth so your nib won’t snag or bump along on the page, and it’s great for scanning because it’s so clean and white. It’s the only paper I’ll use when I’m working on a client project with a drawing or spot calligraphy.
Pros: cheap, super smooth, can be used for practice or spot calligraphy, scannable, easy to find
Cons: pricey in smaller sizes, no guidelines so you’ll have to keep a guideline sheet or laser level handy for straight lines
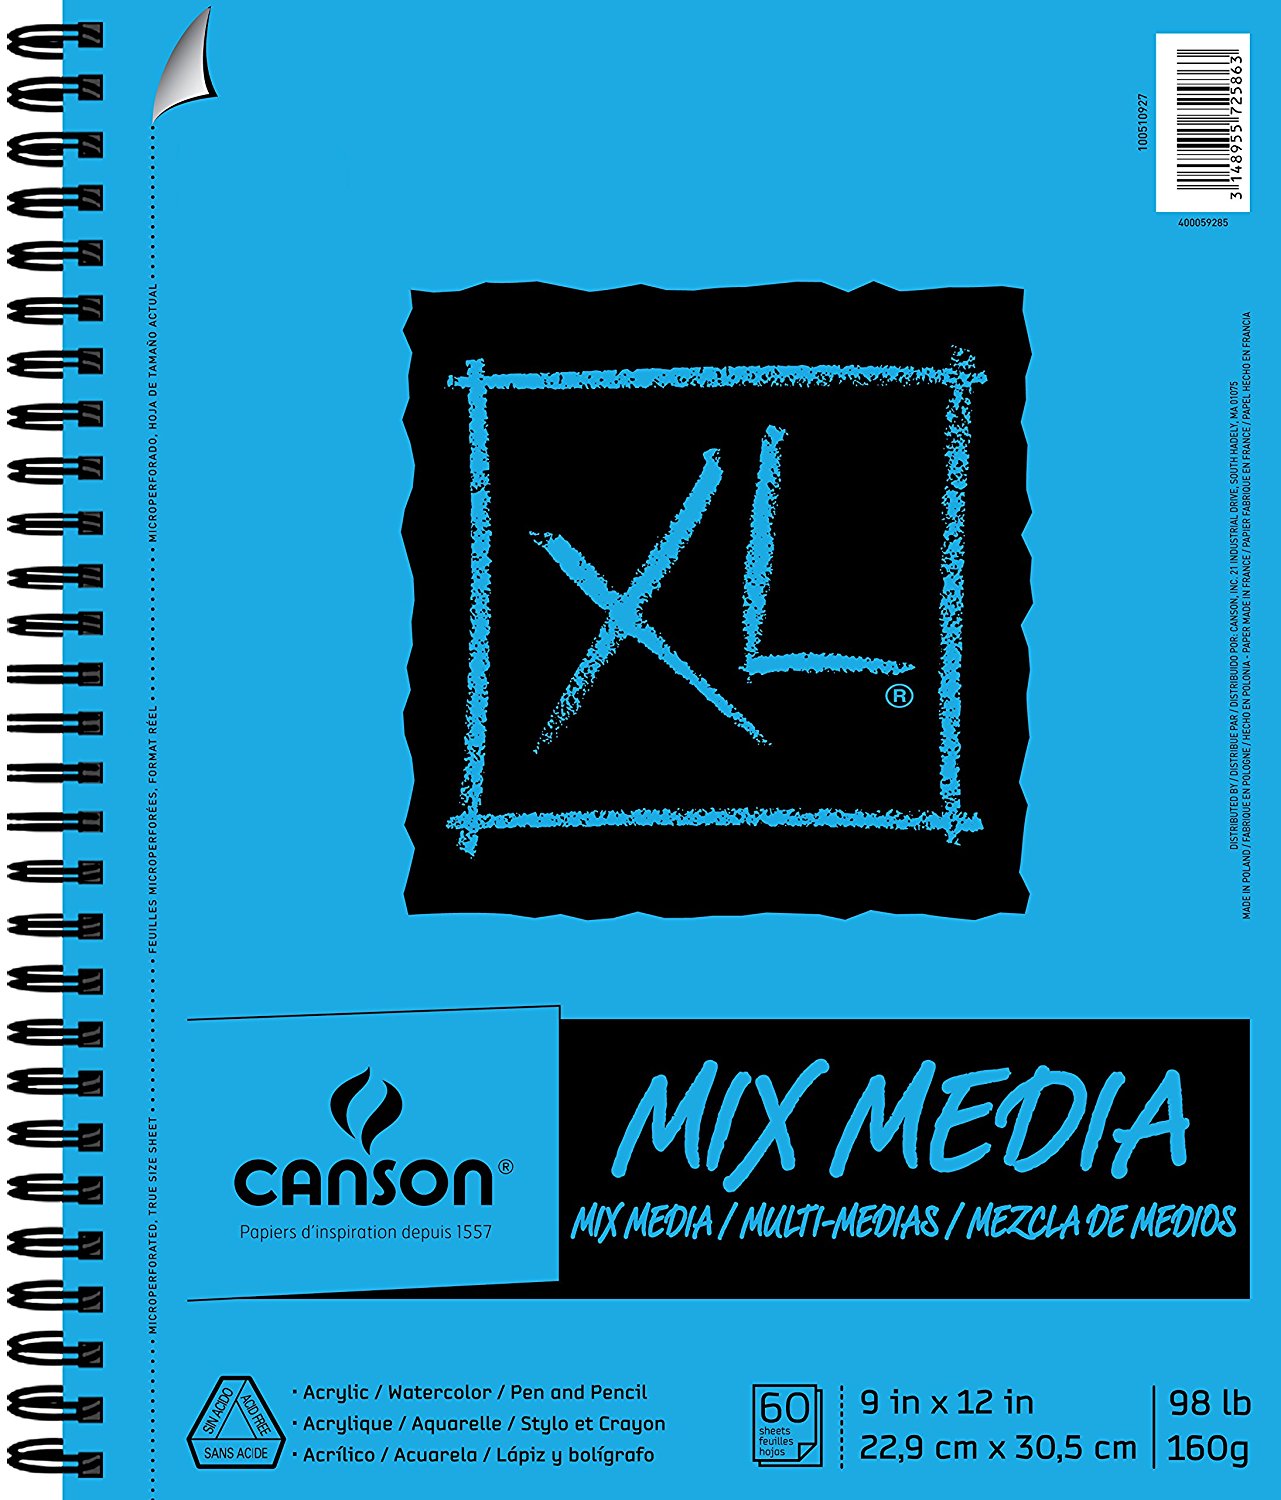
Canson Mix Media Notebook – Buy it!
I know this isn’t a traditional notebook that calligrapher recommend, but I’ve been using these for years and I find them to be very practical. I have a pile of them in my office and carry one with me almost everywhere I go, so that I can sketch ideas and take notes at client meetings. I’ve used watercolor and Tombow Fudenosuke pens and pointed pen in this notebook and love the way the paper feels. It’s also nice to have a notebook that the pages don’t tear out of easily.
Pros: cheap, easy to find, spiral bound, perforated pages, smooth paper
Cons: a little toothy so may be a bit bumpy for pointed pen
Drying Racks – Buy it!
If you’ve done any work with a pointed pen and ink, then you know you need a place to dry your work. Drying racks are great for envelope and place/escort card orders, and they’re fairly cheap but last forever. I have a stock of 10 right now and have never needed to replace them. They don’t get any ink on them, which keeps them looking brand new forever.
Pros: cheap, lightweight, multi-use, great for any skill level
Cons: depending on the amount of work you’re doing, you may need several drying racks to hold all of the pieces
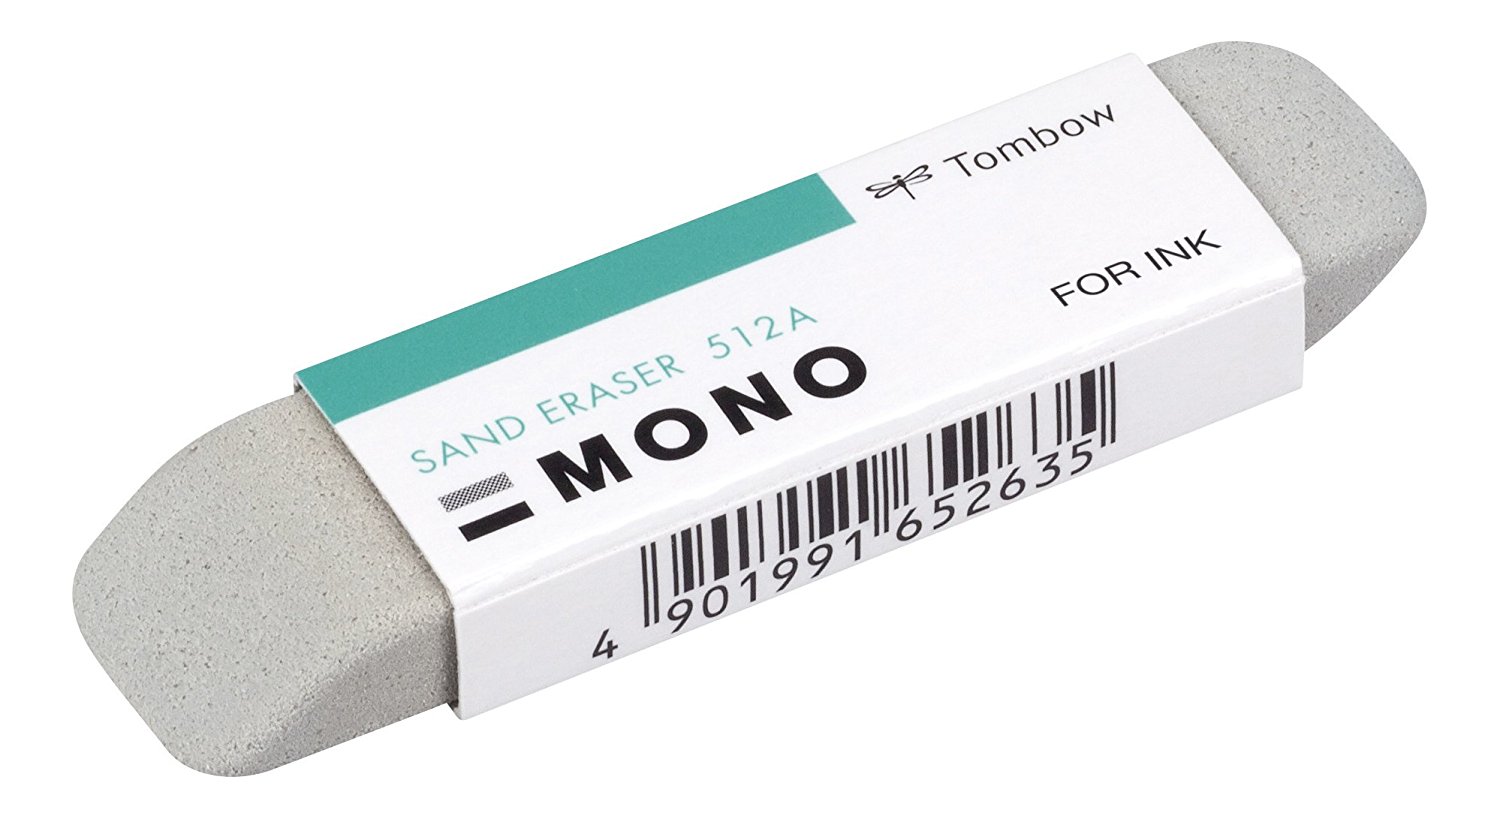
Sand Eraser – Buy it!
I keep this magical little guy at my desk at. all. times. It’s saved my butt so many times, I can’t even count! This is great for small mistakes only – it doesn’t work miracles, people (though sometimes it’s legit answered my prayers) – and it lasts forever. I’ve had mine for three years now and it’s got at least 50 years left in it. It’s an essential tool for any calligrapher’s arsenal. Remember to use it gently until you get the hang of it.
Pros: lasts forever, erases mistakes, super cheap, relatively easy to find
Cons: none I’ve discovered so far, except that it can’t UNDO TYPE (ha!)
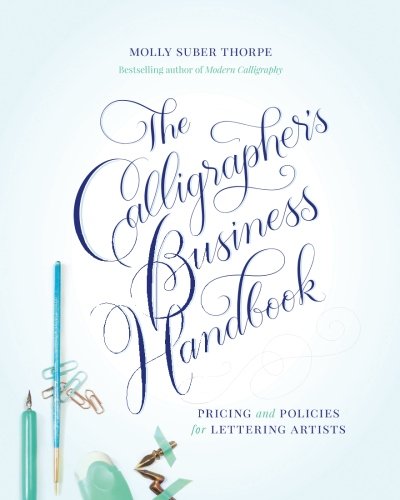
The Calligrapher’s Business Handbook – Buy it!
I would be remiss if I didn’t recommend this book. What kind of pricing fanatic would I be if I didn’t?! This book is an excellent (and short) read for the beginner and advanced calligrapher. Even if you’re doing this “for fun”, you need to pick up a copy of this book. Remember that we’re all in this together, and if you don’t remember, check out the Pricing Taboo Blog Series.
Pros: filled with tips and tricks to pricing, how to establish your business, and good business practices. A MUST-READ.
Cons: only a bad thing if you let it sit on your shelf without reading it
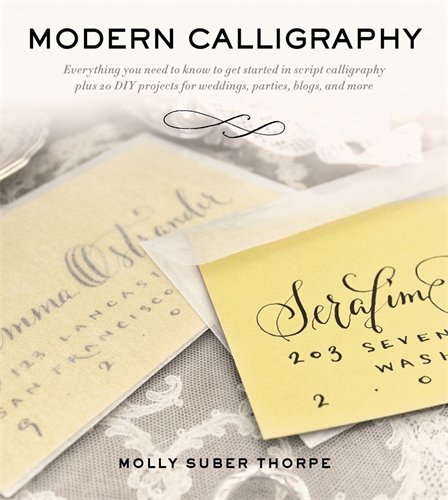
Modern Calligraphy: Everything You Need to Know to Get Started in Script Calligraphy – Buy it!
This is also a fantastic read. I used it daily when I was starting out (back when the book had just come out!) and it helped me learn so much about letterforms and how to create different styles. Plus, if you hadn’t already heard, there is a great section with an exemplar that’s more like an inspiration list: each letter has a couple of dozen variations for you to try out! Tip: use the Borden & Riley paper to trace over the letters for practice.
Pros: another must-read, goes over how to succeed at modern calligraphy from start to finish
Cons: only a bad thing if you let it sit on your shelf without reading it
ADVANCED CALLIGRAPHERS
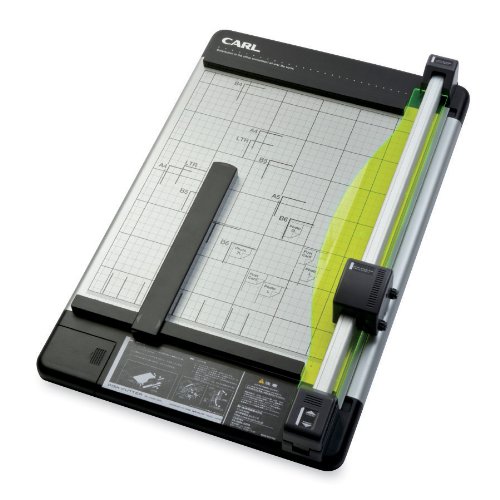
CARL Heavy Duty Rotary Paper Trimmer (18″) – Buy it!
This is hands-down the BEST paper trimmer around. I’m not a fan of the guillotine cutters (unless you have a great recommendation that doesn’t cost me my hypothetical first born), and when I found this trimmer, I knew I’d found heaven. I’ve cut stacks of paper in this thing (my record is 8 sheets of 110# of Lettra) and two sheets of medium weight chipboard at once. It’s great. Buy it. You won’t regret it.
Pros: cuts thick materials or several sheets of paper, blade lasts a long time, safe around children
Cons: slightly awkward to store, can only cut materials up to 18″ in length
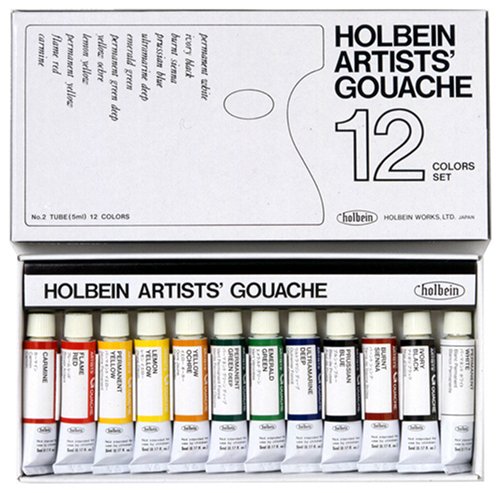
Holbein Artists Gouache, Set of 12 (5ml tubes) – Buy it!
When regular ink just isn’t cutting it, the client needs a specific color mixed, or I’m working with less than desirable envelopes (looking at you, shimmer and fibrous envelopes), mixing my own ink with gouache and water saves the day. And if I happen to overmix with water, a bit of gum arabic will save me from throwing out the mixture to start again. Do you need an expensive gouache to be successful? No, but if you’re mixing something other than black (or shades of gray or white), the pigment is much richer and it’s behooves you to create the most beautiful ink color you can for your client.
Pros: opaque, permanent, excellent quality, easy to find, available in a wide range of colors, not much needed so it lasts a long while!
Cons: expensive, may be difficult to mix up more of the same color, should be shaken periodically during use
Uni Posca Marker, White – Buy it!
If you’d like to try your hand at signage, this paint marker is the way to go. It’s beautiful and opaque, and doesn’t require several layers of paint like a paintbrush and acrylic paint would. I use this on wood and acrylic signs, mirrors, and chalkboards. It’s opaque and not super streaky, especially if you do one layer and go back over it again in an hour or so once it’s dry.
Pros: opaque, permanent, excellent quality, easy to use, multiple sizes and color available
Cons: sometimes difficult to find or may take a while to receive if ordered, requires frequent shaking and dabbing on a paper towel/something similar to ensure consistent paint flow
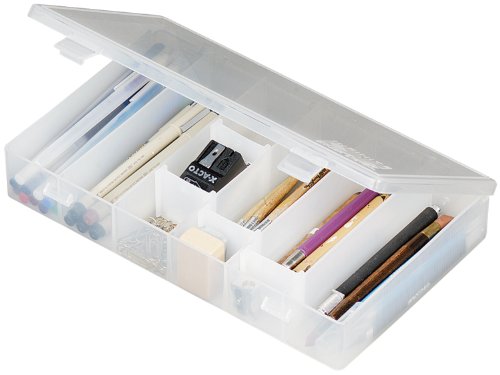
ArtBin for storage – Buy it!
I have so many of these, but this one is great for those who are starting to amass a collection of supplies. This will keep all of your favorite tools in one place, making it super easy to take with you on a trip, on your morning commute, or to a calligra-friend meet-up. Plus, it’s super cheap, and who can say no to that?
Pros: inexpensive, holds pens/nibs/erasers/pen stands/etc., easy to store, lightweight, travel-friendly
Cons: you may need a bigger one if you have a big collection
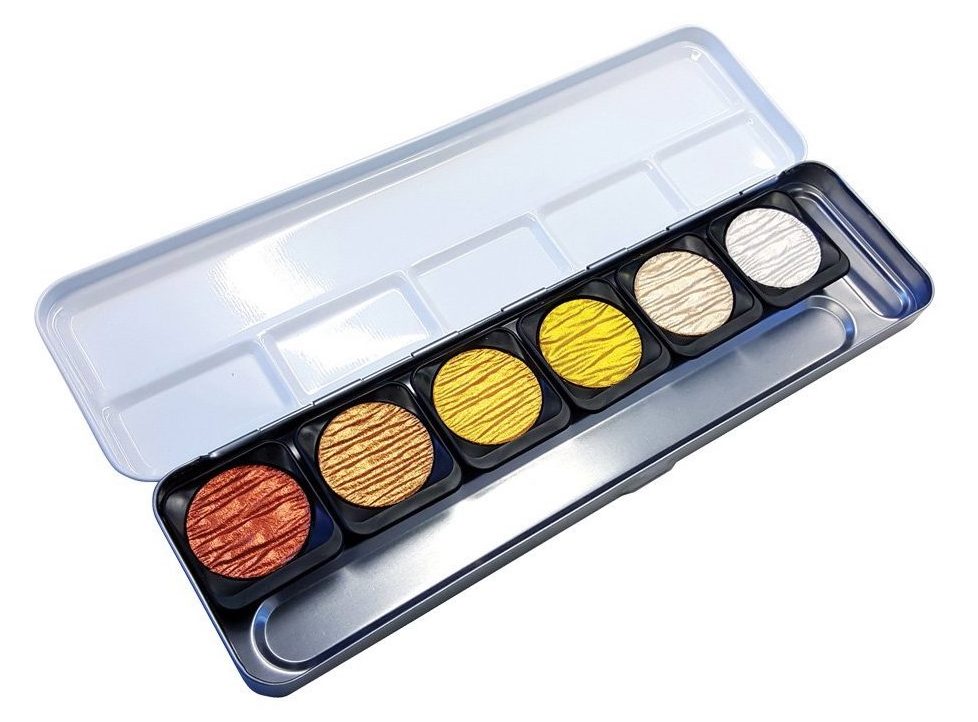
Finetec Palette – Buy it!
Look no further than this amazing palette of metallic colors. My personal favorite is Arabic Gold, but I’ve used all of these colors at one point or another. They can be a bit time consuming to use, but the result is stunning. You’ll have to add a couple of drops of water to the color you want to use, stir it in a bit and wait a few minutes, then use a brush to paint the color directly onto your nib (top and underside), then it’s ready to use. The best part? You can use them on dark paper and the shimmer is beautifully opaque.
Pros: shimmery, great colors, fairly opaque, can be used on white or colored paper, refills are sold individually
Cons: a little pricey, must be applied with a brush to the nib (cannot be dipped into), a little expensive to refill
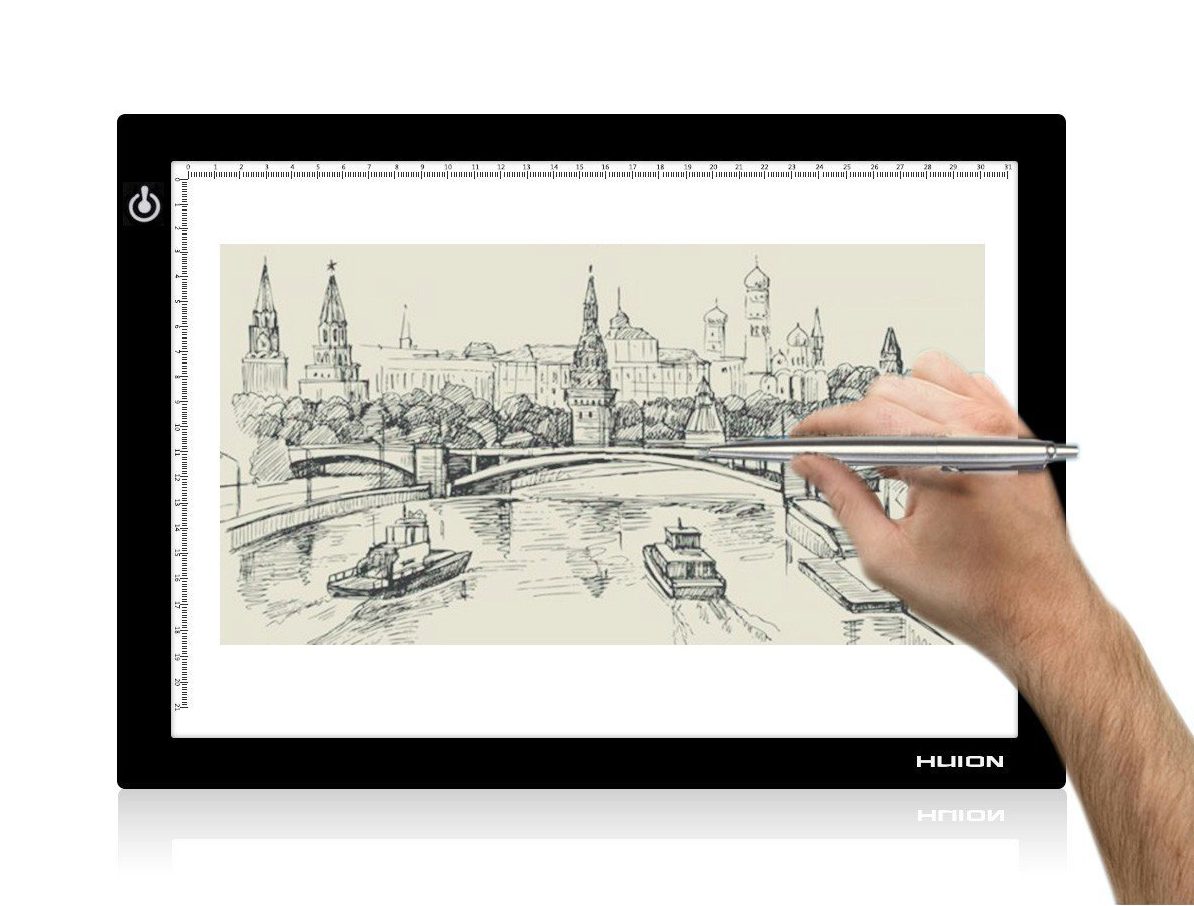
Huion Light Pad, 17.7″ – Buy it!
This is another tool that I use almost every day – it stays plugged in because I use it so often! This light pad is fantastic, with a dimmer feature and a large surface area, and is pretty inexpensive for the amount of use it gets. I’ve had mine for almost two years and it still works like new. Highly recommended!
Pros: dimmer button, huge work area, lightweight and portable, slim, inexpensive, long life
Cons: corded, limited to surface area
T-Square, 30″ – Buy it!
This isn’t a difficult tool to use, but it is SO helpful! I have the 30″ version myself because I do a lot of large pieces like poster-sized vows, wedding signage, and seating charts on acrylic or mirrors. It’s also great for cutting straight lines!
Pros: lasts forever, if you get a large enough size you can use it for a variety of projects
Cons: bulky for storage purposes
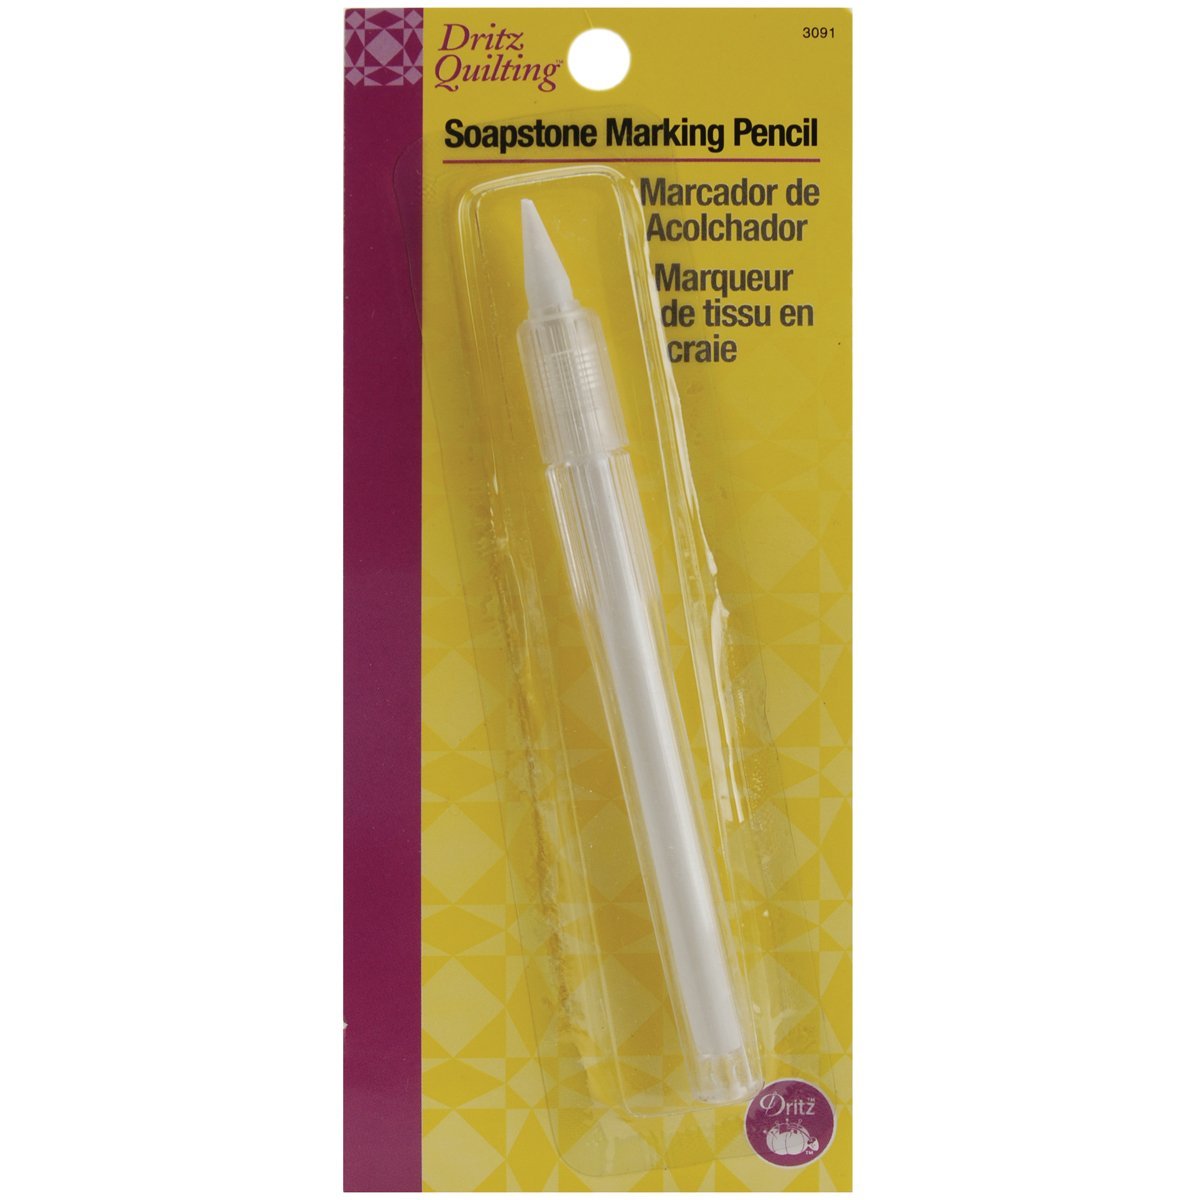
Soapstone Pencil – Buy it!
Speaking of drawing guidelines: if you’re planning to make signs, this baby is what you need. I know it says “quilting” on the package, but I promise you that this works. Make light guidelines using your t-square on wood or lightly scribe your lettering, then write with your paint marker, and erase after everything is dry. It’s such a time-saver!
Pros: makes erasable guidelines, low learning curve
Cons: difficult to erase if you have a heavy hand, have to be sharpened life a regular pencil
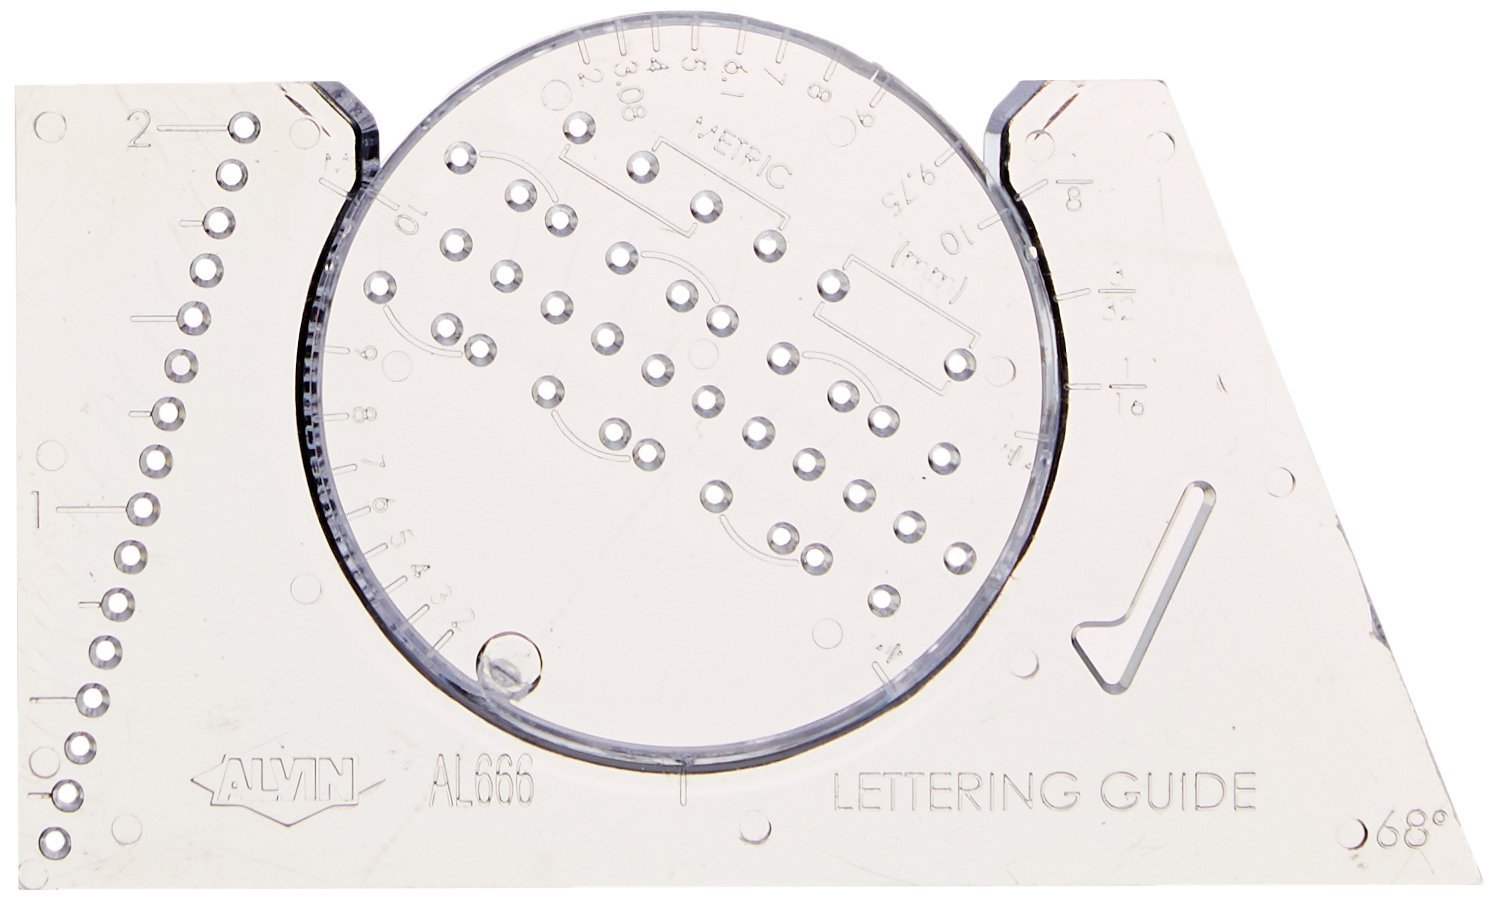
Alvin Lettering Guide & Rule Template – Buy it!
I don’t actually use this tool (it’s on my to-do list!) but I have it under good authority that this is the coolest little tool in the biz. If you’d like to learn more about how to create amazing straight lines with even spacing (and if you’re interested in a more structured, classic calligraphy look), check out Bespoke Strokes’ blog post about how to use this nifty little gadget.
Pros: lasts forever, if you get a large enough size you can use it for a variety of projects
Cons: bulky for storage purposes
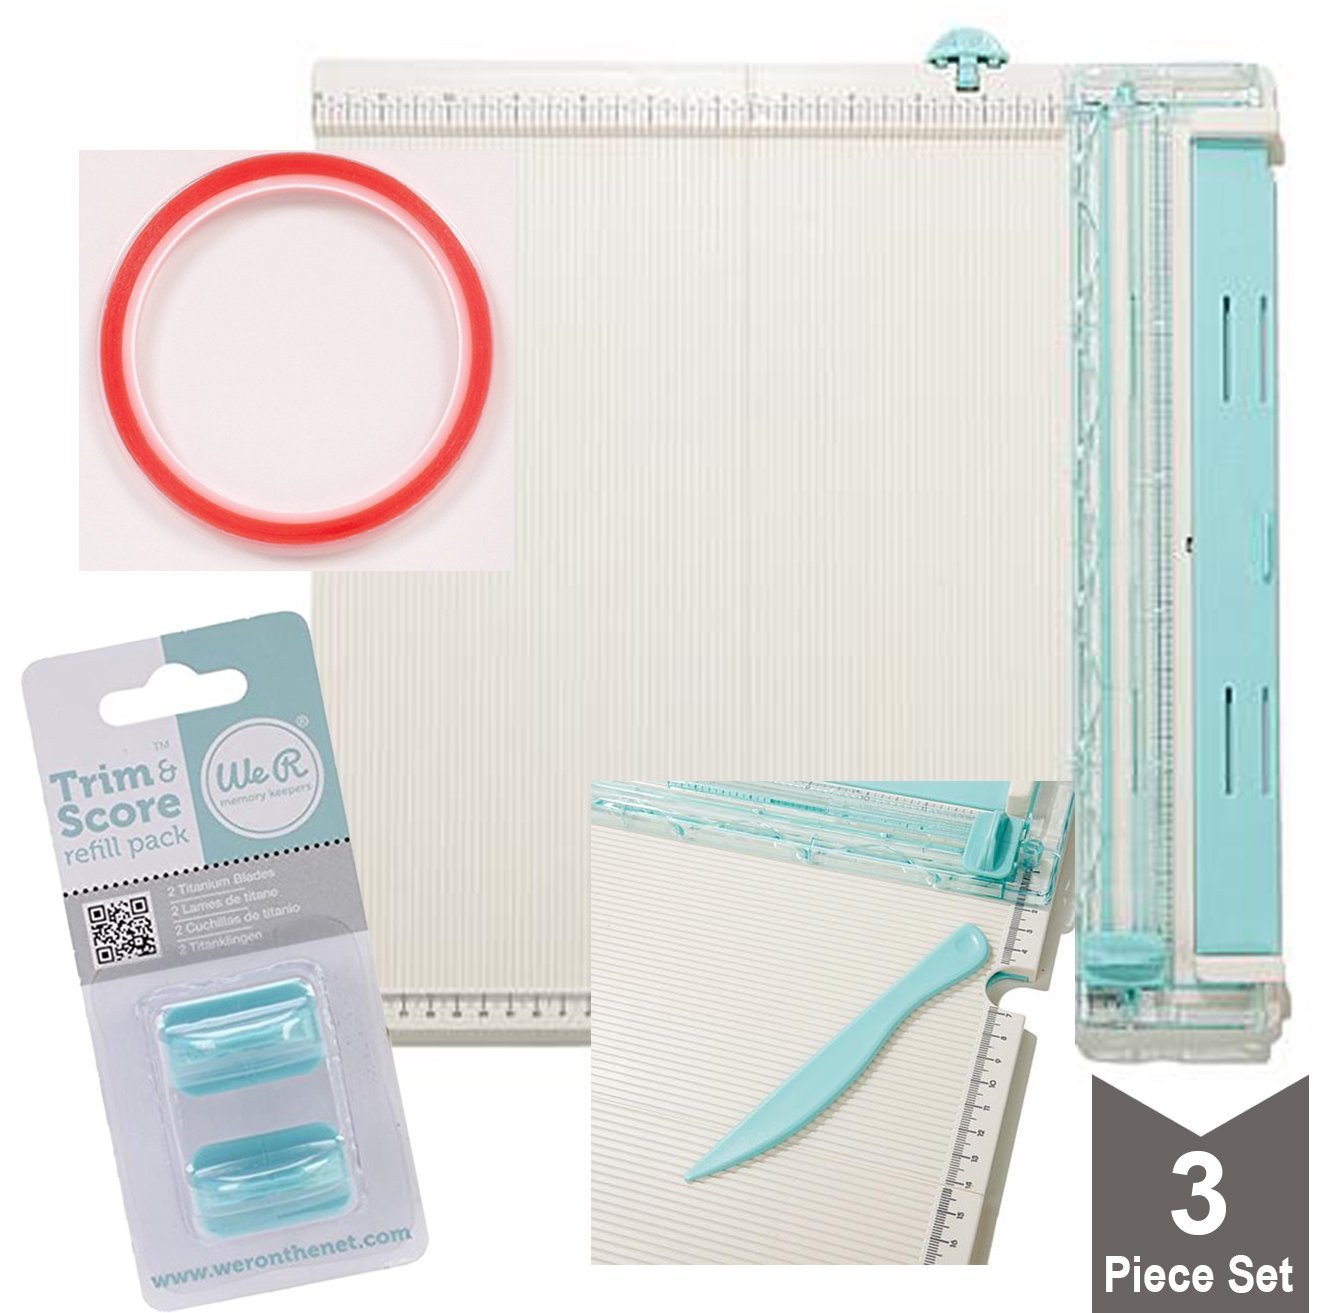
We R Memory Keepers Scoring Board – Buy it!
This might be a bit of an investment, but if you do a lot of home/office printing and want to score your own cards, this is a fantastic resource for you. It’s easy to use and comes with all of the tools you’ll need, and BONUS! You can use it to make your own envelopes (though I definitely don’t recommend that for large orders. Styled shoots only.) and trim paper (but it’s not an excellent trimmer, so beware).
Pros: excellent for short runs, easy to use
Cons: large and bulky, not perfectly accurate and requires a bit of finagling/patience to get it right
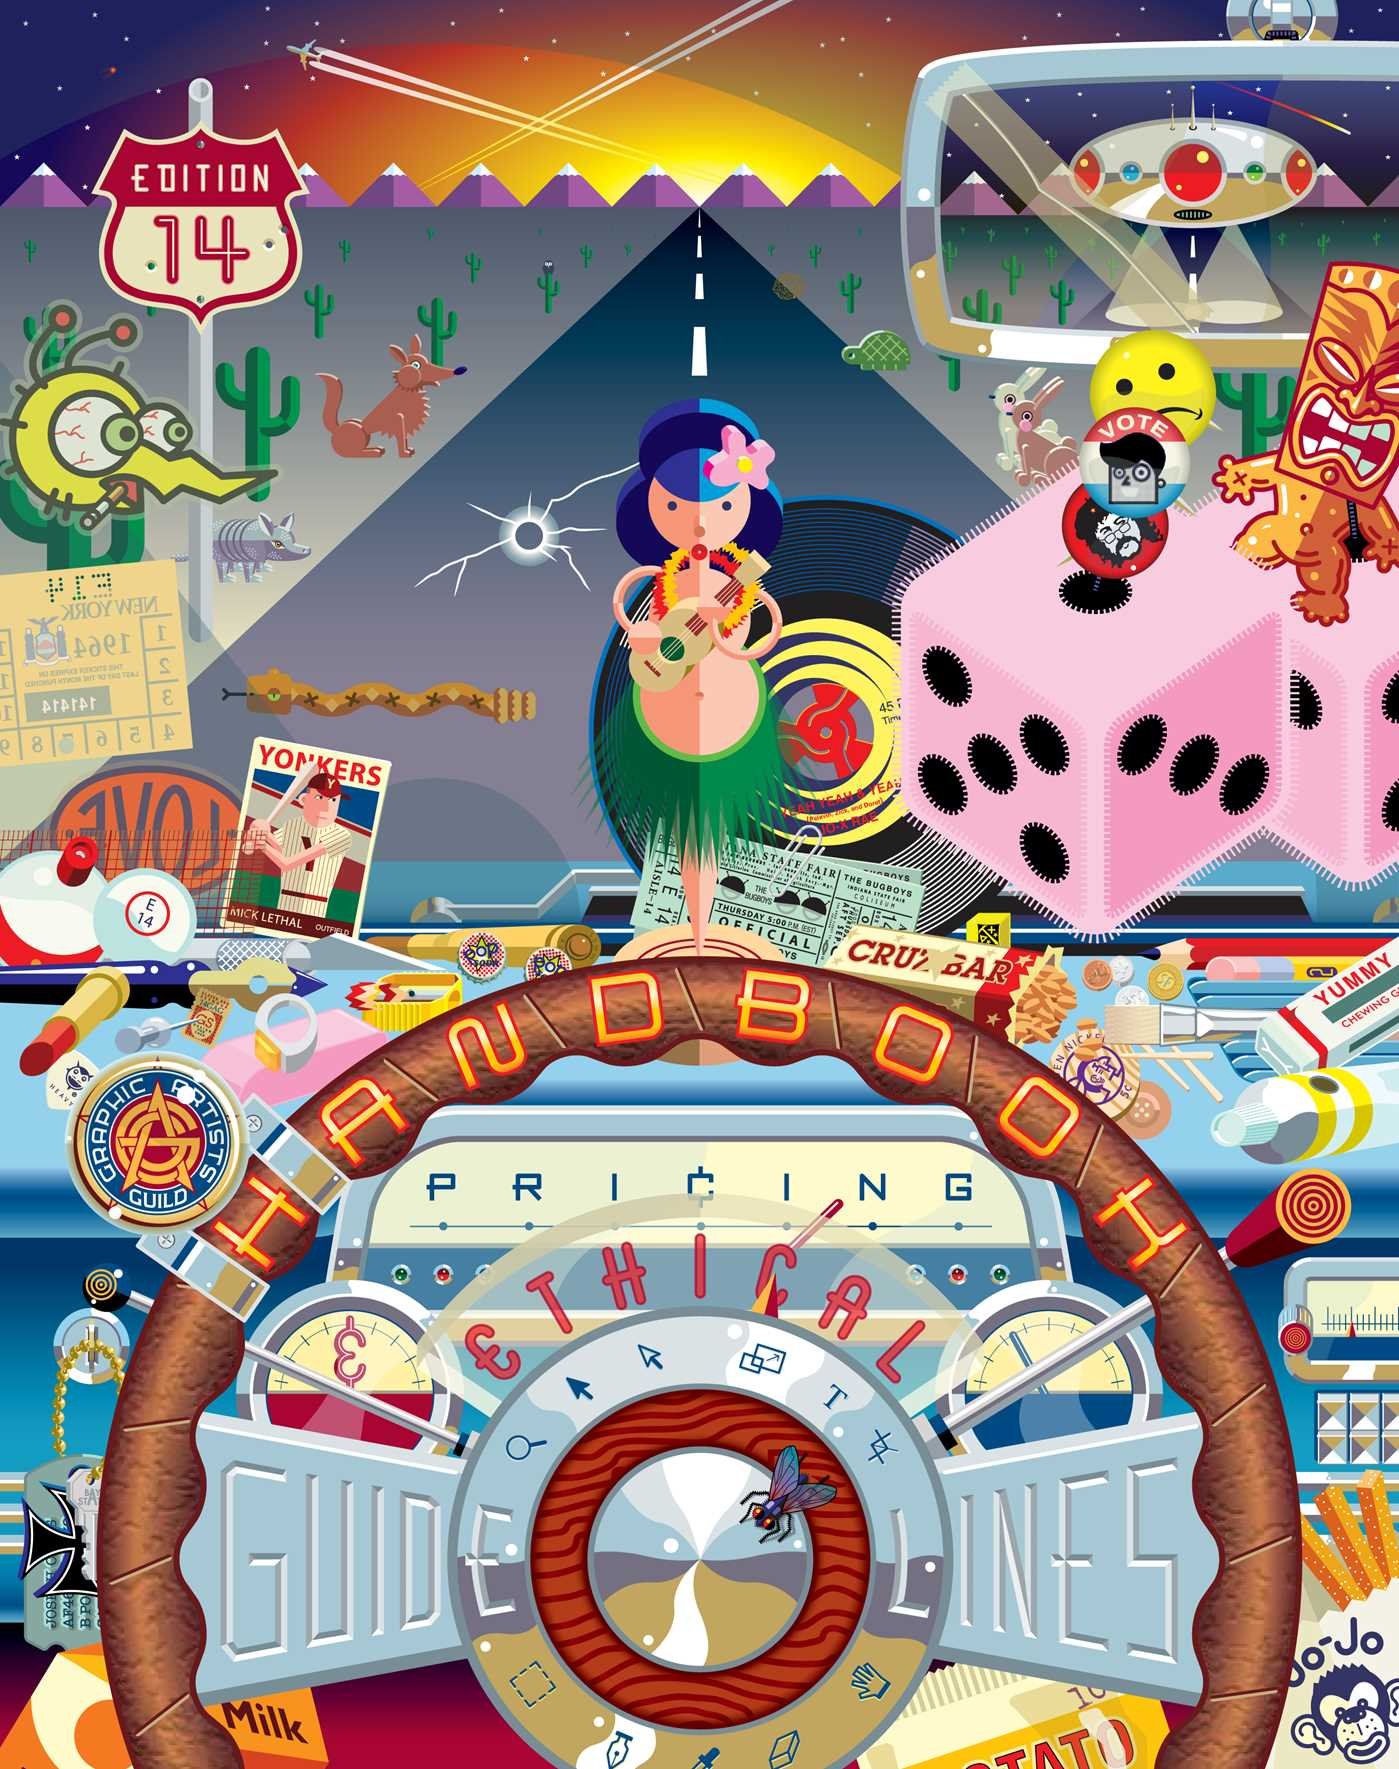
Graphic Artist’s Guild Handbook of Pricing and Ethical Guidelines – Buy it!
Also available as a PDF or Kindle edition, this is a great resource for stationers. And it isn’t just for graphic designers, (which you basically are if you’re designing stationery), it has a section for hand letterers and goes over contracts, licensing, and all of those little questions that come up when you’re own a creative business. Even if you’re doing this “for fun”, you need to pick up a copy of this book. Remember that we’re all in this together, and if you don’t remember, check out the Pricing Taboo Blog Series.
Pros: filled with tips and tricks to pricing, WHY you should price competitively and fairly, and a huge section on legal aspects of running a business (written in plain-speak). A MUST-READ.
Cons: only a bad thing if you let it sit on your shelf without reading it!
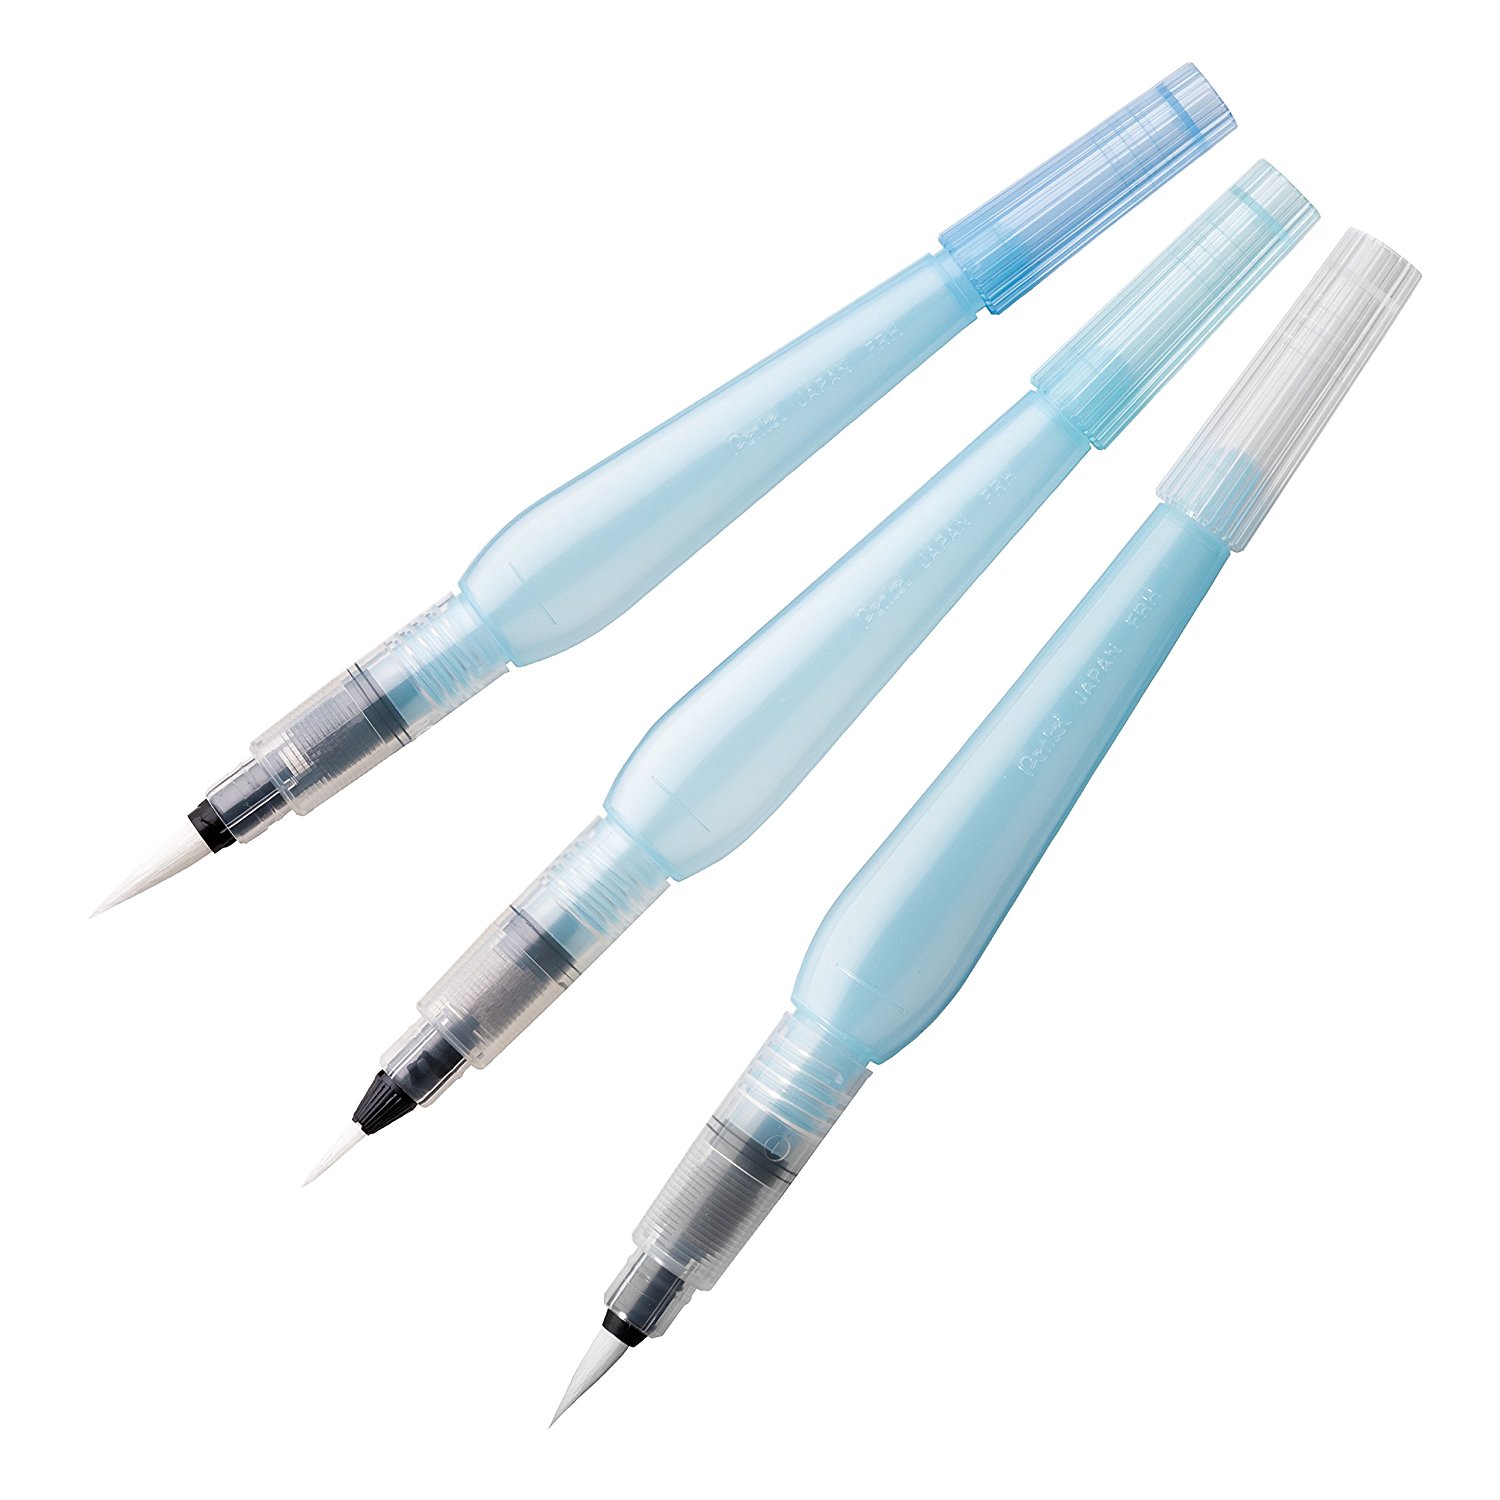
Aquash Water Brush (Pack of 3) – Buy it!
Not an “advanced” tool, so to speak, but I think using these effectively does require a bit of practice and may be more advanced that the Fudenosuke pens. You can load these up with water and then dip into watercolor/gouache, or you can fill them liquid watercolor and go to town. They’re really fun and easy to use, and for the price – well, you can’t beat it!
Pros: achieves the “watercolor brush calligraphy” look easily, three different sizes for different thicknesses in strokes, relatively stiff bristles, long-lasting, cheap
Cons: may be a bit advanced if you’re just starting out, you must clean the tube out completely before loading in another color
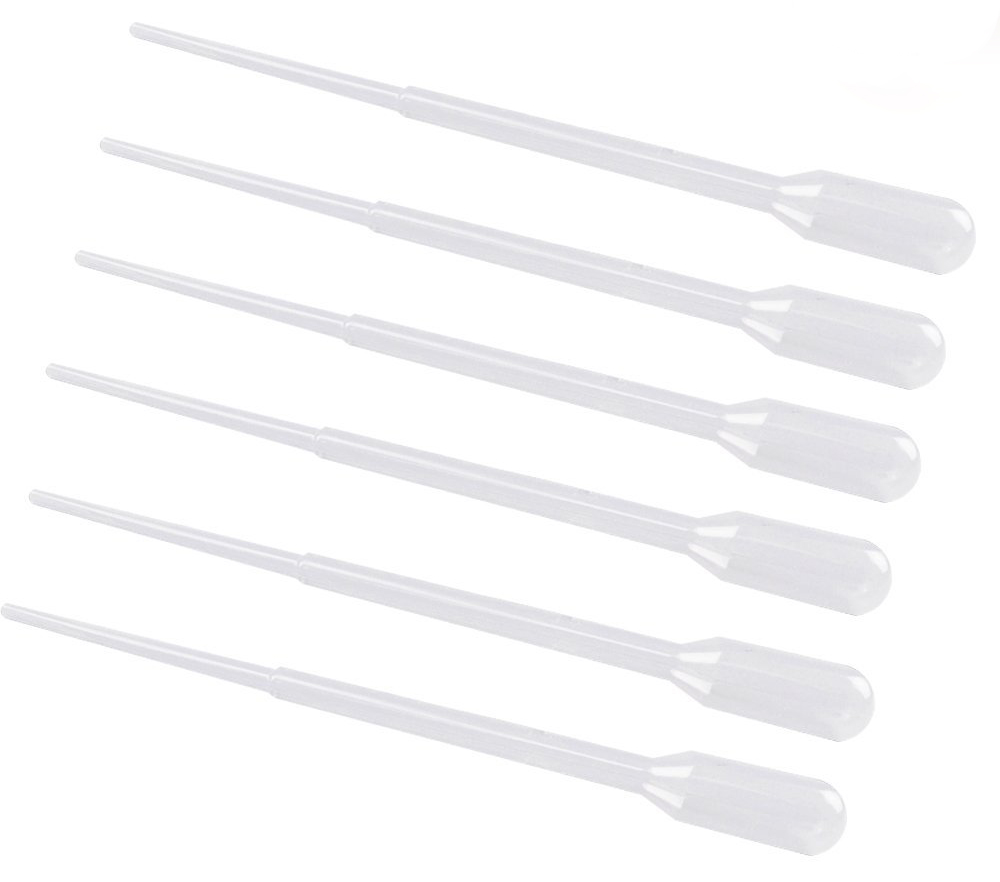
Plastic Pipettes (Pack of 20) – Buy it!
Depending on the kind of ink you’re buying, you may find yourself in need of a pipette to transfer ink to another container or perhaps to add water to it. These pipettes are CHEAP and not super sturdy (several of mine cracked on the seam), but they last a while and this is a pack of 20…so you’ll be set for awhile! Plus, SO CHEAP!
Pros: 20 pack!, cheap, does the job
Cons: cheaply made (but there’s 20 so you have backups), no measurement capabilities
[hr]
I hope you enjoyed looking over my list of cant-do-without calligraphy supplies! What supplies can’t you live without? Tell me in the comments below! (I’m always on the lookout for new supplies, as you know now!)
Full disclosure: some of the links above are affiliate links.
SaveSave
